
So earlier I promised to walk you through my curtain creating for the master bathroom which I had almost finished. We begin with the window.


I ended up going to Hobby Lobby (Hobb Lobb) and picking up 3/4 yrd. of Duck Cloth, which I thought would do really well in the moist shower environment. I picked out a really nice bold pattern because there isn't a lot of space for art, so I knew I could take some liberties. My fabric, with my Hobb Lobb coupon from the phone app, ended up costing $4. If you add that to what I have already spent on paint for this room, that comes out to a nice $8. That's right, less than $10 for a quick make over!
I already had scrap wood that I cut to size to hold the top of the curtain in place. I grabbed my sewing machine, drill, and staple gun and I was ready for faux!

I already had scrap wood that I cut to size to hold the top of the curtain in place. I grabbed my sewing machine, drill, and staple gun and I was ready for faux!
I made sure that the top of my fabric was even by cutting along the line that the printed pattern gave. Then I lined up the scrap wood with the top to see how much space I was being given for seams.

I made it so that I could fold it over the edges of the wood to cover it, but only realized later that it was going to be stapled from the top anyway so that didn't matter. Oh well, no big deal.

I double folded the fabric and pinned it for the seams. Then, I just ran it through the sewing machine. Pretty easy so far.

I double folded the fabric and pinned it for the seams. Then, I just ran it through the sewing machine. Pretty easy so far.
I then laid out the fabric on the bed (I don't have a sewing table), and started playing with the length of the folds. I ended up with this, which I then pinned in place.
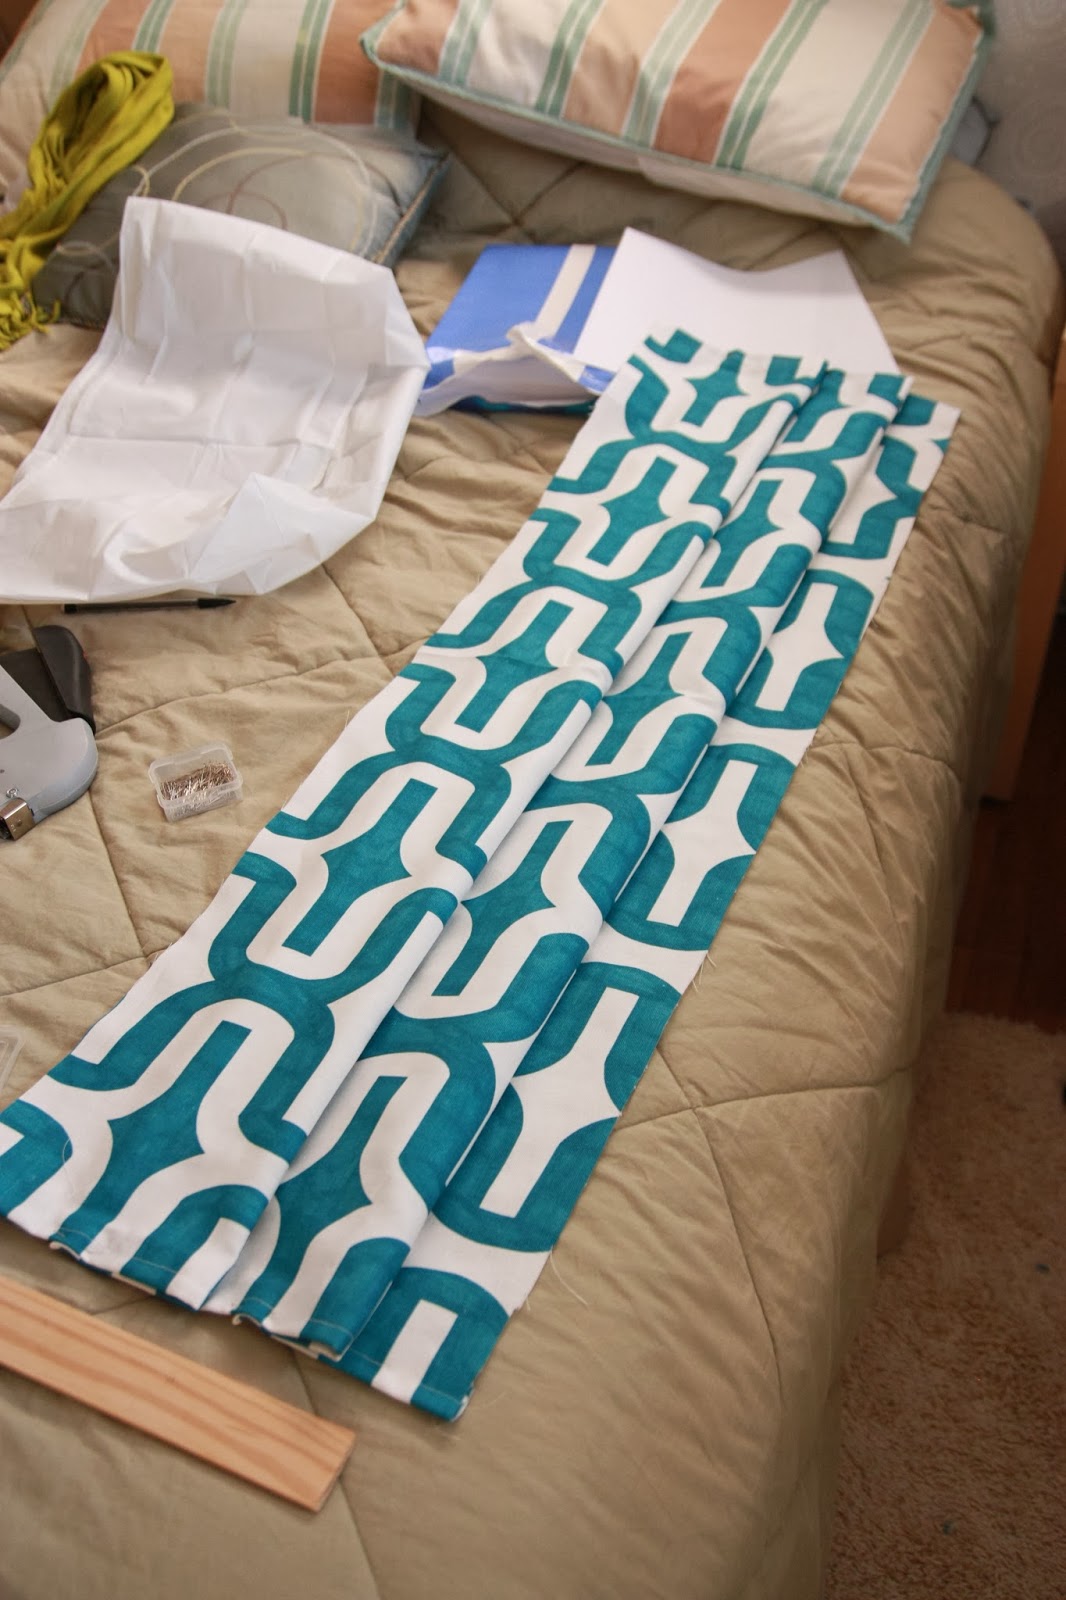

I gave the corners of each fold a couple of stitches to hold them in place. I figured that the tension from being stapled would hold up the folds. Spoiler alert, that was a minor mistake.


I made sure that the wood piece was still going to line up.

Then I headed into the bathroom. I predrilled and screwed three screws to secure the wood to the top of the window. I may have gotten a little close with the drill. Thank goodness for extra paint!

Oops.
Then I lined up the curtain and stapled it to the scrap wood. That's when the disappointment happened.

For some reason, the walls look REALLY GREEN in this pictures, but I think it's because it was a cloudy day outside. It's a little softer than eye-burning lime.
In REAL roman shades, there are stiffeners, like dowels, that hold each fold up. Essentially my blind had no structural integrity, so it collapsed. I ended up removing the staples and taking it back down. I ran stitching lengthwise down each fold to secure it and then was able to staple it back up.
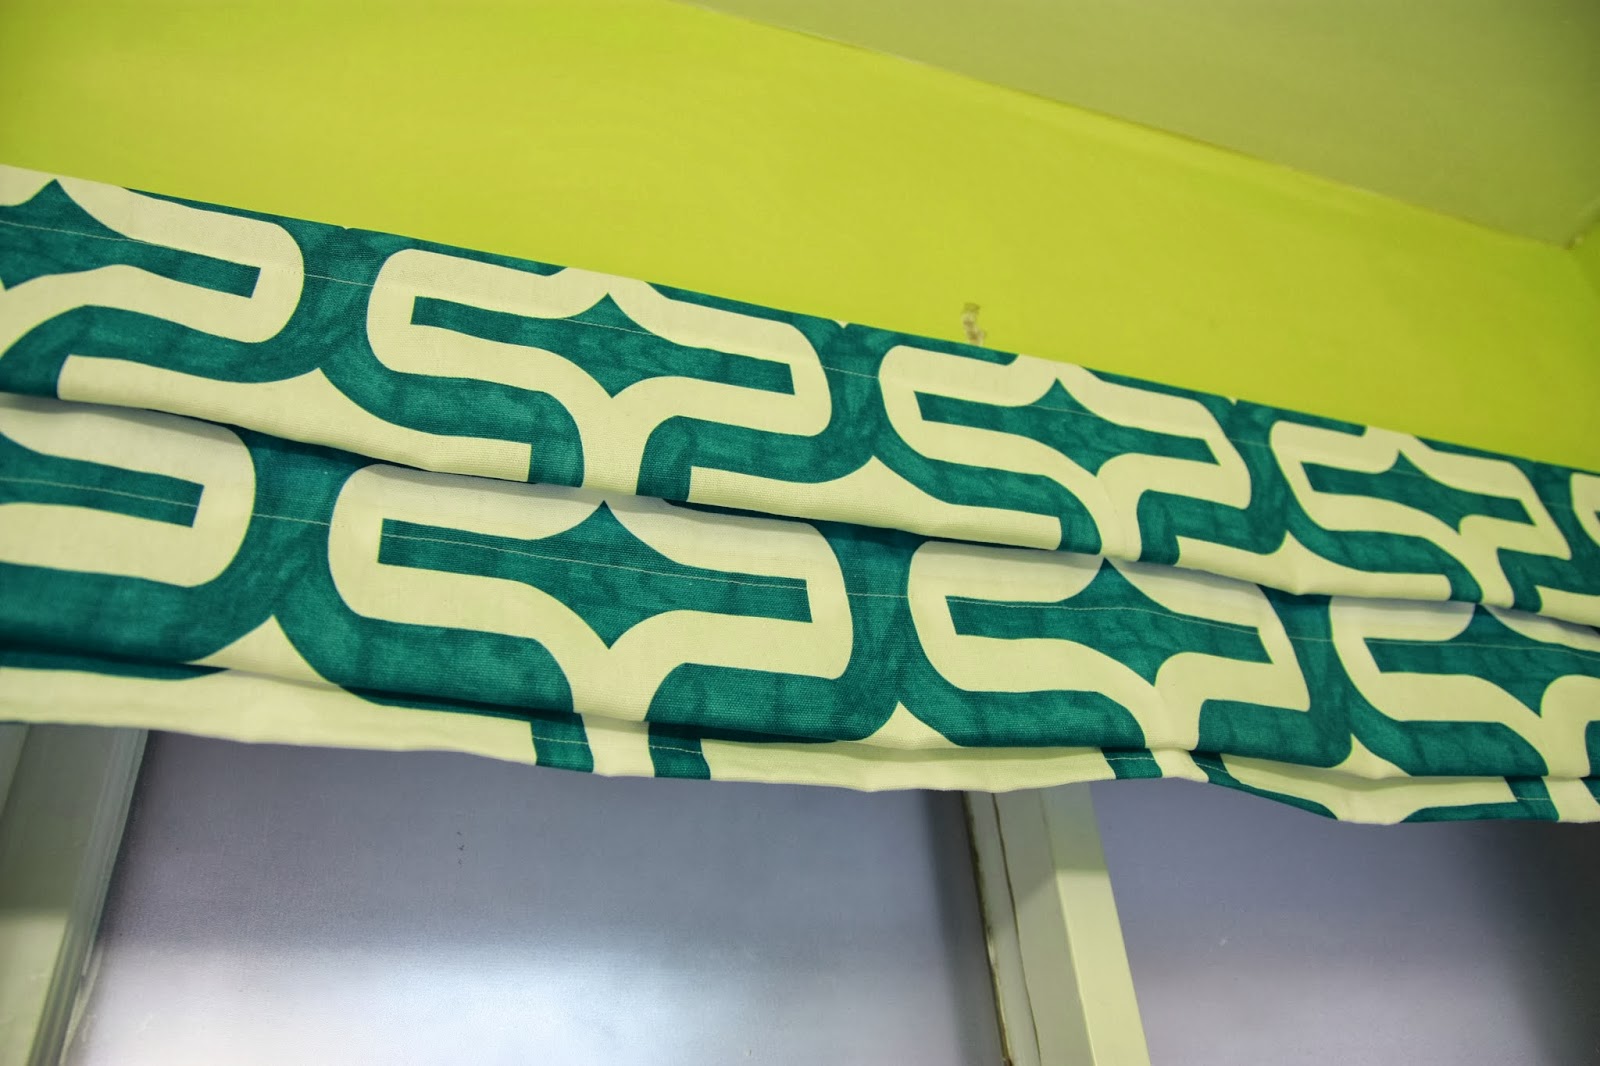

It looked much better. Once again, this was a process of trial and error. My Mom made Scott and I curtains for our oddly wide and short bedroom windows (which I will feature when I someday get a coat of paint on those walls!), and made it look easy, so making the fake version in half the size gives me a lot of respect. Good job, Mom!
I have to say, the fake curtain really makes it feel like a real room. The finished product made me really happy I took the time to take it down, fixed it, and try again rather than giving up.

I have to say, the fake curtain really makes it feel like a real room. The finished product made me really happy I took the time to take it down, fixed it, and try again rather than giving up.
Yay for quick makeovers!
They turned out well! Real roman shades would have been a waste of time and money for such a small window. Good job!
ReplyDeleteLooks great!
ReplyDeleteExcellent job lining up with the pattern rather the grain or the selvages (which are rarely on the straight of grain.) They look awesome!
ReplyDelete