Monday, December 22, 2014

We Wish You A Merry House Tour

With only 2 more days till Christmas, I suppose it's about time for a festive tour of the decorated abode.

Let's start with the living room!


This tree was actually given to us by a friend who didn't want to bother with moving it from apartment to apartment anymore. It's 6 foot and artificial, so it has a couple of bald patches. I like to cover those up with one of the burlap table runners from our wedding as a sash and small bits of greenery from Michaels that I bought on sale a couple of years ago.

To fill in the branches a bit, I also added the little white birds. They just clip on, and a package of 8 cost $2, so they were an easy solution. The ornaments are all mostly from my childhood, though some are from friends. We have one that our friend Fred gave us before moving away that we love, along with the one photographed last that says "The Sturdivant Family" that was handmade by our friend Sarah. It just helps really make it feel like our tree.


On the bar, we have a wine cork tree that I made myself a couple of years ago. It's the easiest tree to put up every year! It was made by taking a foam core cone that you can purchase from Michaels or Hobby Lobby, then just hot gluing the corks to it in whatever pattern you wish. Some people like it to be a bit more fluid and not look as uniform, but I kind of liked the symmetry of it. After three years, it has weathered the move and storage great, so it's an easy decoration I would recommend making for any wine enthusiasts as either a gift or a DIY.

The greenery reindeer are actually from my parents house. We've had them for as long as I can remember and Mom passed them down to me. They are all super adorable, but of course, the smallest one is my favorite.


I usually like to create large displays under our television because we don't have a mantel, but this year, I went with simplicity. I just arranged a pre-lit garland and some reindeer that I purchased from Target last year. They are actually ornaments, but they were a little large and I liked how they looked standing up, so I just set them around places instead.

(Something cool we found is that if we plug our garland into our backlight system for the television, it will dim the Christmas lights, too, so they are never too bright while we are watching movies or TV. How awesome is that?!). The wax burner is currently filled with evergreen wax, which makes the house smell festive and wonderful. I'm a big fan of wax burners, especially with pets around. Soooo much safer!


The deer head is now officially the reindeer head till Christmas is over. I made the scarf last year out of scrap fabric and just placed the hat so it seemed secure. When the scarf goes on the deer, that's when you know it's winter in our house!


I have discovered in the last year that having the french doors is a fantastic decorating opportunity. I happened to find that I had three wreath hangers in the garage (I kept losing them, then buying another, then finding them...you know how it is with wreath hangers...). I used two and hung these lit wreaths and I really like the look. The only issue is that they are both plug in. This year, I decided that they would be fine, so I used clear release hooks on the door frames to hold the wire out of the way. It's pretty okay, but I think that next year, they'll end up outside on the windows with their brethren (Bed, Bath and Beyond was selling them. Set of 3, pre-lit for $15. I used a $5 off $15 and spent $10 for three wreaths. WIN).

The little table top tree is our beer tree. It's actually my college tree that I didn't know what to do with, so last year, we designated it The Beer Tree. It is adorned with a bottle cap garland that we made for it and a bunch of coasters from some craft beer breweries. We didn't pay for any of its ornamentation, so it's been just a nice side decoration on the cheap. The top is adorned with a black'n'tan turtle, which has become something that our friends apparently love and look forward to.


Since we were given our main tree in the living room by a friend (and frankly, liked it more), we ended up moving our original main tree (also 6ft) into the dining room. It's nice to have something in there because it greets people to our home and can be seen through our front picture window. It has been designated The Geek Tree.

The ornaments, as you can see, are all things that we love. Star Wars has a major role, since it's the theme of most of the ornamentation as well as the skirt itself (made by my wonderful Mom), but there are other things, too. My glass ballet slippers, a UK quilt ball, and some other cool ornaments are up there, keeping it classy, yet just goofy enough to really reflect our household.

The JOY canvases are from the old apartment and I haven't quite found a place for them in the house yet. They didn't go up anywhere last year, but this year, I just leaned them against the entry. I'm not sold. They fall over a lot and I think they might break if they aren't moved. Oh well, only two more days, right?

The dining table has a table runner that my mother gave me and a wreath that I found half price at Jo Ann Fabrics. I used one of my dollar store vases and filled it with cranberries, then a floating candle. It really brings a traditional feel to our dining room.


I have FINALLY put lights on the house and nothing this time of year could make me happier! We always had lights and decorations outside when we were kids, so last year's bland exterior kind of brought us down. This year, I found a great deal on some exterior lights, so I grabbed them and in less than an hour, had created a festive facade.

The wreath on the front door is the third wreath from the set from BB&Beyond. Inside, it is a little ghetto because it is plugged in with an extension cord. I know that there are things we are going to have to change next year to make our lives a little easier, but for right now, it seems to be working well.

I had a flash of an idea the other day about a small decoration for the front stoop. We already had a galvanized bucket, an evergreen tree with trimmable branches, and a bunch of chopped branches in the back. We even had an extra string of lights. I merely arranged them all together in a semi pleasing way and I really liked the look. Maybe if it was a little taller, it might be nice, but I'm otherwise pleased.

The last picture was to show our little streetlight pole. We've never really decorated it. Ever. So when I saw that Jo Ann's had their evergreen swags for 60% off, I grabbed one. I just wrapped it around the pole and secured it with some zip ties. I ended up also wrapping some lights around that, but it wasn't photographing well (thus the black and white).

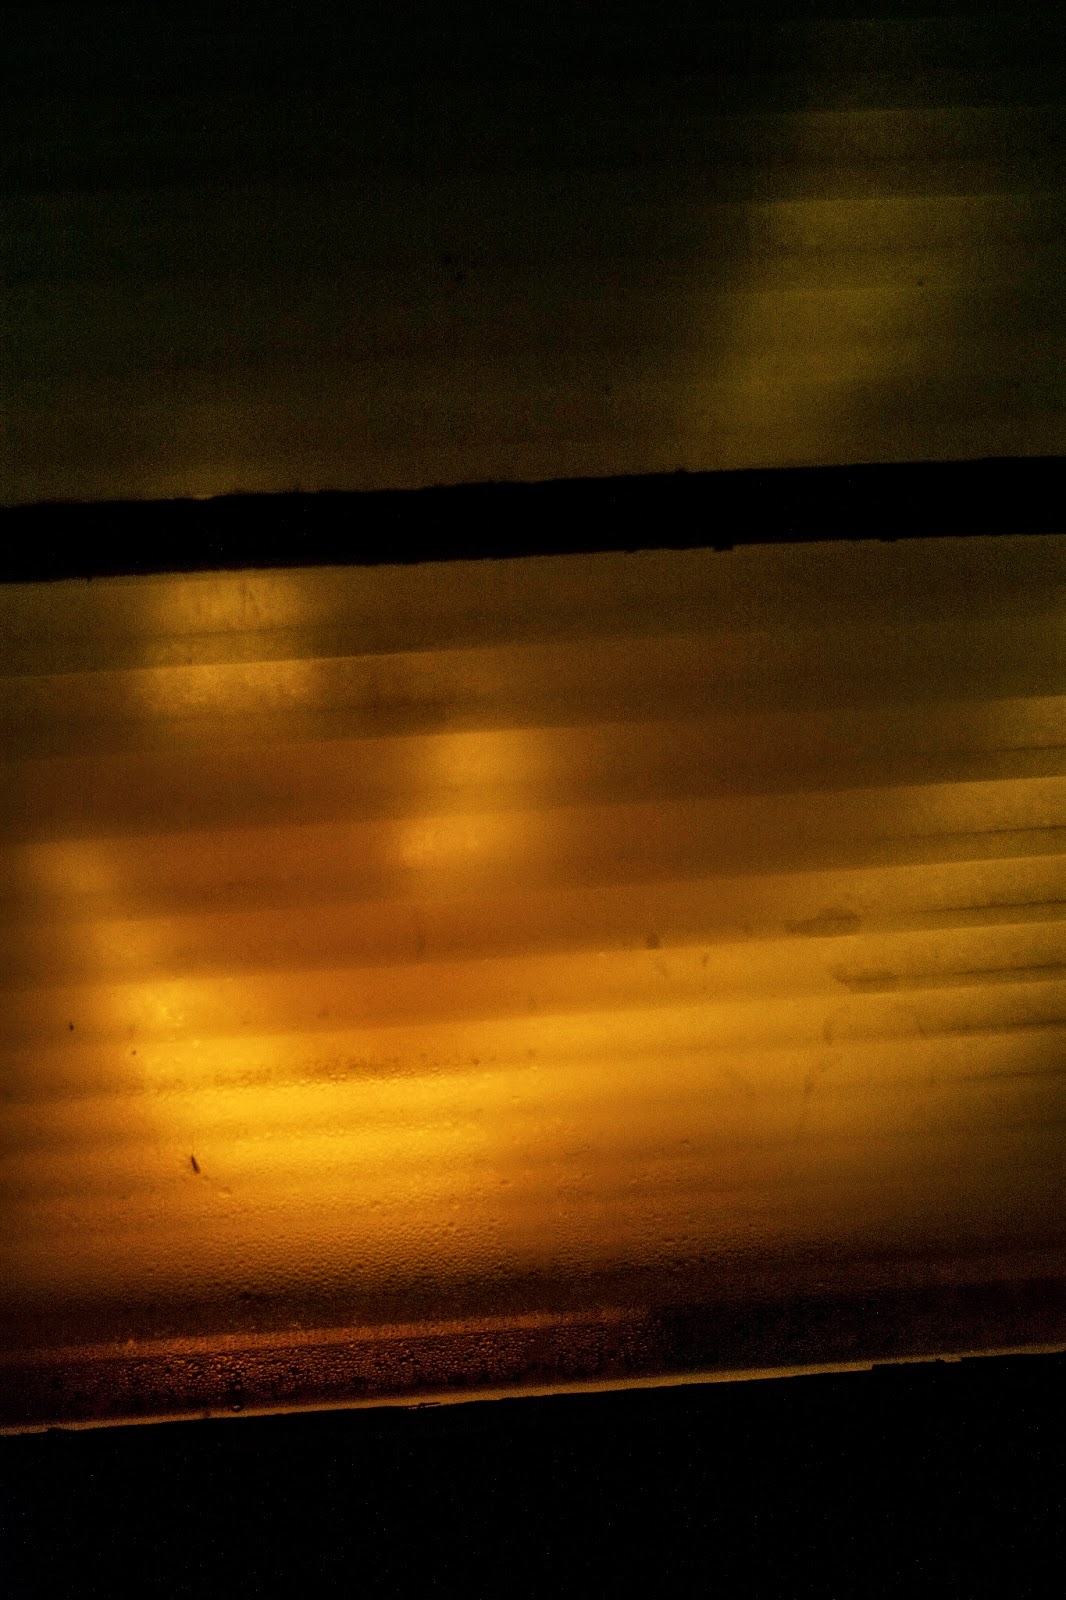
And that's about it. I am pretty satisfied with how everything turned out, but I know things will change from year to year. That's part of the fun! It's just nice to return home to a warm, inviting home (With a really cool sky!)


This is probably my last post till 2015, so I hope everyone has a safe holiday! I also just want to thank anyone who still reads this, as I know I don't update as often anymore and the lulls can make some people lose interest. Thank you for being loyal readers! See you next year!

Thursday, December 18, 2014

Time To Get Ugly

That's right. They used to be fabulous, then they went out of style and now they are ironically back to haunt our dreams of sugar plums. You know what I'm talking about. It's the Ugly Sweater.

Scott and I were invited to our first ugly sweater party this year and I wanted to do it up right. After shopping around a bit, I found that paying for the ugliness I sought would mean paying at least $60. That's quite a bit to spend for a sweater you only get to wear once a year, so I looked into my DIY options.

That's when I found this. (Of course it was on Pinterest)


I sent a picture to Scott and he was sold. He couldn't pass up the opportunity to have a video of fire on his phone attached to his sweater. I figured, "That'd be easy enough to do" and grabbed some supplies.

I got us each a sweatshirt from Walmart. I also grabbed a tan piece of felt, some red puffy t-shirt paint, and a quarter of a yard of clear vinyl (thankfully our Walmart has a fabric section. This downsized the amount of places I had to go).

For my sweater, I got everything at the dollar store, but more about mine later.

I laid out Scott's sweater.


I loosely arranged everything on it, then I began by making the pouch for the phone. I cut out a rectangle of the vinyl that was large enough for my phone when doubled over (we have the same size phone), then sewed it up on two sides. I have a sewing machine, which made this a thousand times easier, but you might be able to accomplish this with hot glue, too.


I then placed my felt on top of it and marked just inside of my newly sewn vinyl seams. This would allow the fireplace to cover up the pouch. Then I just cut an appropriately sized hole.

Here is the dry fit.


I lined it up on the sweater and sewed it on for strength. Make sure not to sew up the top of the fireplace! You need a way to get your phone in!


You can use matching thread if you'd like, but I didn't want to spend any more money than I had to. I also kept thinking, "This doesn't need to be PERFECT. It is an "UGLY" Sweater Party after all!"

I then prepped it to paint on the mortar for the "bricks". Be sure to put something inside the sweater underneath where you are painting so that it doesn't go through.


I waited four hours for my puff paint mortar to dry, then I added on the wreath (with bells!) I found at the dollar store with hot glue above the fire place. It was time for a dry run.


Actually, that's wine, so maybe it wasn't a completely dry run, but you know what I mean.

There were just a few added touches that I thought it needed. I found some red, white, and brown felt pieces in my fabric bin, so I added a mantel and some stockings. I then cut my own stencil and put the obligatory 'sweater pattern' to really give it the traditional ugly sweater look. I was pretty pleased with the final result.


Scott loved it! Everyone at the party called him, "Fireplace guy!" all night, so we really think it was a big hit. He even wants to wear it to work on Friday!

As for my sweater, I went for an easier approach. I had grabbed a green sweater from the men's section at Walmart (because the ladies only had teal). At the dollar store, I grabbed tinsel, some ornaments, and a star. I sewed the tinsel onto the sweater and just looped the ornaments directly into the fabric with their ornament hangers. I was a Christmas tree!


I even got into the tacky spirit by painting my nails with some of the traditional sweater patterns (with my friend Casey's help, of course).


I would have to say that our first Ugly Sweater Party was a success! We had a great time and got to see our friends Alex and Laurie in the process.


For anyone wondering, both of our sweaters cost $25 for all of the materials. In all. That's it. So if you're considering try this out yourself, I absolutely recommend it!

Monday, December 15, 2014

Falling Behind On Posts

Merry Christmas! Too bad this post isn't about Christmas at all. In fact, it's a post I've been meaning to write since Fall. Oops. Better an entire season late then never!

When we last left our living room, it looked a little something like this.


It wasn't bad. Very cozy. But the lack of storage always bothered me. I had posted before that the idea of putting up some shelves had always been on my mind for that corner. See Figure 1.b

This is probably Fig. 1.b...

So last month, I got the DIY Itch and a little tired of the hidden stack of DVDs that we had been hiding behind the couch in the corner. I went to Home Depot and grabbed a 6x10 board and cut it into four equal parts. I did not finish them in any way. I was so indecisive about how they should look, I actually decided to just not do anything at all. Easy McPeasytown.


I found six brackets from some old shelves Scott had in his old apartment in the garage. BAM! FREE! I measured out the height by eyeballing it, making sure to leave enough space for DVDs and books to stand up. I then went back with a level and marked where to mount the brackets. Everything was attached to the wall (in studs) in less than 30 minutes. The whole thing made me feel stupid for putting it off for so long.


It was awesome being able to put our hidden treasures out where we could see them. We haven't watching a DVD in months because we honestly didn't know which ones we even had. Now we can glance, check em out, and start watching.


It also helps balance out the window on the other side of the TV. That was always something that had bothered me when the wall was empty. Overall, I'd say this $16 project paid off. Plus, nothing feels better than scratching something off of a 'To Do' list!

Now back to your regularly scheduled holiday.


Merry Christmas!

Tuesday, November 25, 2014

Happy Friendsgiving!

Happy Friendsgiving, everyone!

If you aren't familiar with the sentiment, let me give you a quick history. For the last couple of years, Scott and I have loved being able to share a Thanksgiving meal with our friends before the official Thanksgiving. This is usually due to our love of cooking, delicious leftovers, and our friends themselves.

It's a pot luck, keeping it from being stressful or financially burdening for any one person. Scott and I are always in charge of the turkey, using the same recipe that Alton Brown uses, which has never failed us. This year, just to mix it up a bit, we purchased two turkey breasts and roasted one in the oven and smoked the other. They were wonderful!


Since I had some time on my hands the week before the dinner, I decided to make the table a little extra special, too. Since it looks a lot more expensive than what I spent to make it happen, I figured I'd share the rundown of where I got what and how much everything cost.

First, check out the spread!


Let's start from the bottom. The tablecloth (which I couldn't get to un-wrinkle. So frustrating!) is one that we had from last Thanksgiving. Win! Unfortunately, we had to put a card table at the other end of the table, so I had to get a white table cloth from the dollar store to cover just that smaller section. It looked as seamless as a shorter table next to a taller table can look.

The burlap table runner is actually from our wedding, so it was no cost to us. The chargers for the plates are from the dollar store. They only had gold, so that chose the color scheme for the whole table.


The candle holders are from the dollar store. I decided that since it was Fall, floating pine cones in them would be the way to go.

Things I Discovered About Pine Cones:
1. Pine cones smell when you bake them to get them ready for crafts.
2. When pine cones get wet, they close up so they look like poo instead of pine cones.
3. Pine cones seep a red liquid that looks like they are bleeding to death when submerged in water.

Thankfully, we filled our candles with water before anyone showed up, so we were able to cycle out the water. It looked like a pine cone sacrifice without the water change, though.


The gold pumpkins and leaves were a lucky find. I was walking through Home Depot when I spied two clearance carts out near the paint section. They held two larger gold pumpkins and two small bags of foam bright orange smaller pumpkins. All were only $1 each! I grabbed all of them and headed next to Michaels. There, I managed to get my hands on the last fake Fall leaves in ALLLLLLL of Lexington. Thankfully, these were also a dollar. Score!

The larger pumpkins were already gold, so they went directly to the table. The leaves were "natural" Fall colors, though. Reds, oranges, yellow colors with a little bit of gold glitter on them. I ended up laying them out in the garage floor and giving them each a good spray with my favorite gold spray paint (Rustoleum Metallic Gold has the best luster and is more mirrored than the others). They turned out really well for $2 worth of leaves ($1 per package)!


The bright orange little pumpkins got some special treatment. They were each spray painted white. The white spray paint mixed with their original orange color, making them look a little odd. I ended up hand painting them all white with regular craft paint (which is why they are matte and not shiny). I then turned them upside down and sprayed all of the bottoms gold. Once they had dried, I just painted over all of the drips and gold paint that I didn't want to see with more white paint. This whole process makes them look dipped without having to pay for a ton of gold paint or use painters tape (which I was afraid would peel off the paint that had already been applied).


I used just regular paper plates, napkins, and plasticware that we already had. I could have used real plates, but that would have been a lot more clean up that I just didn't want to do. This way, the only things left after dinner were things that could be stashed for my next dinner table arrangement, but no dirty dishes.


My favorite little touch was the little wreath of rosemary that I made for each seat. They were made from the fresh rosemary that you can buy from any Kroger or Publix and were very simple to make. Simply take a sprig, bend it into a circle and use small gauge/ floral wire to keep it together. I designed and printed some cute tags and then just tied them on with some twine that I had. They were an easy way of making it feel like a more personal dinner, especially with there being 14 of us. They also made the tale smell amazing!


Here's a price rundown:

Chargers: $14 (for 14)
Rosemary: $5
Pumpkins: $4 (for all of the large and small ones)
Leaves: $2
Card Table Tablecloth: $1
Tablecloth: $0
Table runner: $0
Plates: $0
Napkins: $0
Silverware: $0
Wreath Tags: $0

Cost: $26 for 14 place settings. Not bad! And it's all reusable! Huzzah!


It turned out so well, I am looking forward to doing more table settings in the future. For right now, though, we are just loving the leftovers from our fun little dinner with friends. Nothing like a large pot of (freezable) gumbo stew made with the leftover turkey to keep you warm!

Nom nom nom. If you're interested, you can find the recipe for this stew here.

Fancy or not, we hope everyone has a Happy Thanksgiving! 

Thursday, October 23, 2014

Cheapy and Creepy

Halloween is probably our favorite holiday, so we like to make sure that the house feels just a little creepy to get everyone in the mood. We didn't want to spend a lot this year, though, so here are some of my secrets to a wallet-friendly spooktacular space.

There are a couple of small details around the house that I love. We don't have a mantel, so under the TV acts as a nice decorating platform.


Black fabric draped over stacks of books or blocks gives a nice 'uneven ground' to start with. I then layered it with white spiderwebs to give it a spooky feel. Add props to give it dimension and one more thin layer of spider webbing and you're done! Webbing can be reused year to year if it's stored in a ziplock bag, so we haven't purchased webbing in a couple of years. The props came from the dollar store or knick knacks that were 90% off at Target after last year's Halloween. Keep interesting (and non interesting such as salsa, sauces, etc.) jars and clean them out really well. There are printable fun tags online that you can tape or glue to them. You can even skip the labels and just add water and a little food coloring to add a creepy mad scientist effect.


Our french doors needed a little something more than being strung up with spider webs (like last year), so I decided to take a hint from The Walking Dead and make them look really spooky. I saved up cardboard for a month or so and cut it so that it looked like boards. I then just hot glued them together in layers until it created a good canvas for my signs. Lastly, I sloppily spray painted the words and allowed them to dry in the garage.


Remembering that we had left over wreath hangers around, we just used those to hang them on the door. Depending on if your doors are opened or closed most of the time will depend on what door gets what sign, but when ours are closed they look like this. (They do tend to stay open more often then not).


In the old dining area (which has been dubbed by a friend of ours as 'The Salon'), we just replaced our regular pictures with some smaller haunted pictures that were at Target for $1 each. They're kind of small so I'd like to replace them at some point, but for now, they do the job.


The guest bathroom is always fun. I reused the 'bloody' shower curtain from last year (made with a dollar store shower curtain, some red craft paint, and my hands) and the fake dead hand that I found at Walmart for $2 probably 5 years ago. If you want to make your bathroom really feel like it's from Psycho, unscrew all but one bulb just enough so that they don't glow. It makes it so guests can still see, but it gives it an eerie effect, too.


The most fun we had this year was in the front of the house. I had seen something on Pinterest about silhouettes and decided that the garage could use a little zombie love. I took some of my leftover cardboard and used hot glue to make four pieces the size of our garage windows. Then, I traced my left hand repeatedly with sharpie in different gruesome positions. Once I had a configuration I liked, we cut them out of the cardboard with an X-acto knife.


Then they were painted with some black spray paint we happened to have in the garage.


I then just used some duct tape to attach them to the door. I also placed some wax paper behind each one so that the green-light-bulbed work lamp we hung from the garage door opener would be diffused a little.


The results were pretty amazing from the outside.


It looked great, especially with our larger window harboring a grim reaper large window cling ($4, after Halloween special at Target, but could be made like the hands out of cardboard) and a couple of foam tombstones (dollar store). We just replaced the regular light bulb with a green one in a stand up lamp in our dining room to match both window colors.


Together, they really set a creepy mood for anyone approaching the house.


Later on, we were able to turn on a jack-o-lantern in the bottom left corner of the large window.


On the outside, though, it adds just a hint of a haunting.


We really love the way everything turned out, and nothing says Halloween more than approaching a house that looks either haunted or full of Halloween fanatics!


We hope this inspires you to really spook up your own haunt this October! Do you have any other great tips for awesome Halloween decor on a budget? Let us know in the comments!