
There aren't any really good pictures of the before. The documentation of this dungeon/humidor only truly began when I realized that painting the wood paneling was going to be much trickier than initially anticipated. Here is an example of where I started (Just as a warning, this process has been going on since we moved in, so some of the pictures are better than others. There was a lot of phone photography going on.)

As you can see by the wood paneling on my left, it didn't want to go down without a fight. The primer was oil based to properly cover and adhere to the shiny wood. It worked really well, but was exhausting to apply because it was mostly done with a brush. I didn't use a roller with the primer because my previous oil-based primer shenanigans had resulted in splatter that I didn't want to get on the wood floor. Remember, too, that the top and bottom trim, back of the door, closet, window, and window trim were all the same un-painted wood as the walls. That means that they were also on the list to be primed and painted.
To walk you through the entire process, I figured I'd pick up after all of the priming took place. After two coats of primer, the walls were manageable.

To walk you through the entire process, I figured I'd pick up after all of the priming took place. After two coats of primer, the walls were manageable.
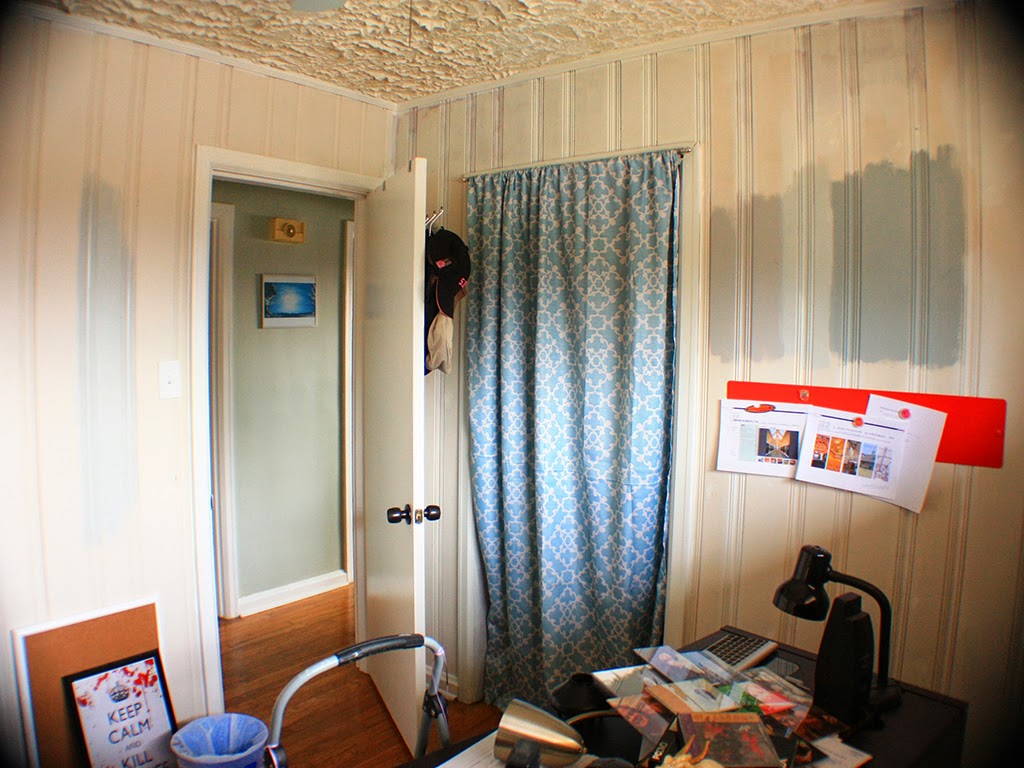
The left only has one coat, the right has two. After I had mostly finished the priming, I took a break on the room.
So for the past 5 months, the room has been left looking like this.


Until now.
I ended up using a light color because going too dark would really make the room feel cave-like. I picked a light gray/blue and grabbed a gallon from Home Depot (after appropriate sampling, of course. It's the middle one on the right hand side of the picture below).
So for the past 5 months, the room has been left looking like this.
I ended up using a light color because going too dark would really make the room feel cave-like. I picked a light gray/blue and grabbed a gallon from Home Depot (after appropriate sampling, of course. It's the middle one on the right hand side of the picture below).
Unfortunately, before I could even open my paint, a lot needed to happen to prep the walls. Most of that prep was spackling, and most of that spackling involved tiny holes. Once the primer had been applied, the walls certainly looked better, it's true, but this

actually looked pretty ratty because of these

I just took my time (3 hours, to be exact) and applied my spackle to all of the holes I could see. I had to step around the room and look at the walls from different angles because of the divots in the panels, but it was worth it. Painting the wood without doing this would have left it looking like someone just slapped a lot layers of paint on particle board and that was not the look I was going for.
When I was finally able to grab a brush and open my gallon of paint, I started at the bottom trim and worked my way up. I had to make sure to work the paint into each of the slats because the roller wouldn't be able to reach in the routered sections.

When I was finally able to grab a brush and open my gallon of paint, I started at the bottom trim and worked my way up. I had to make sure to work the paint into each of the slats because the roller wouldn't be able to reach in the routered sections.
One issue that I had was that the paint went on practically white, so seeing where I had and hadn't already painted was a bit tricky. Thankfully, it dried a little darker and I could go back later and touch up. This was all made that much more perilous by the fact that we couldn't move all of the furniture out of the room, so we were working around this.
Once all the walls had been edged (the trim has been completely painted since I primed the walls), I was then able to come back with a roller and roll the color onto the flatter portions of the paneling. It was so satisfying, but my wrist was pretty sore from brushing all day so I had Scott finish it when he got home. It was nice because he is tall and able to use the roller without a stool.

We let the first coat dry and came back with a second after seeing some spots that we had initially missed. After the second coat dried, we moved everything back in.
It's difficult to describe how much better the rooms feels to someone who wasn't able to bask in it's horriblness before, but let me tell you, it's pretty awesome in there now.


It's difficult to describe how much better the rooms feels to someone who wasn't able to bask in it's horriblness before, but let me tell you, it's pretty awesome in there now.
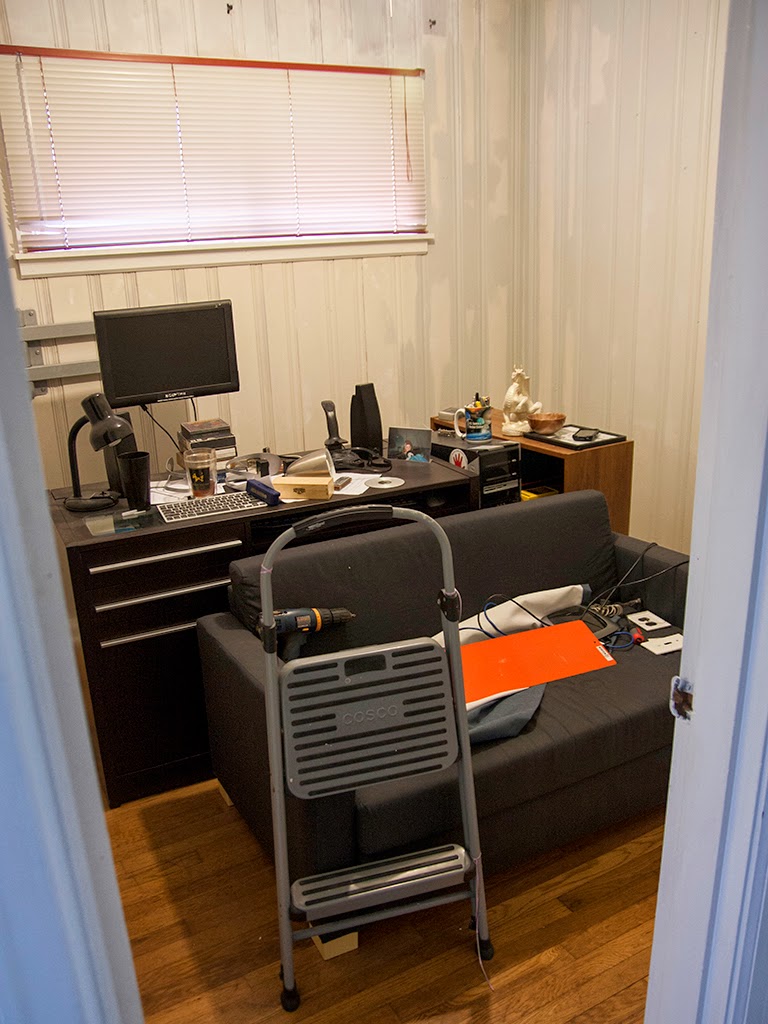
So much less embarrassing for people to see (except for maybe that Ikea couch)! The room just feels like it's really a part of the house now, unlike before when we tried to keep the door shut as much as possible. There is still one issue that lurks in there that we won't be tackling for a while, though.

Yeah, that's three different types of ceiling finish. There is a different type in each part of the house, but only Scott's office has two inch peaks hanging from above. Why? We don't know. We haven't met one person who has ever seen anything like it before. We have tried wetting it down and scraping it, but it didn't do a lot of good. I ended up going at it with a hammer and chisel and made a bit of a dent a couple of months ago, but it's a very messy process and I haven't tried again since.

We aren't sure if we are going to try to sand it down, recover it, pull the whole thing out and replace it, or just keep chiseling yet, but I'm sure when we do, you guys will get the whole story!
What do you think of the office now? Do you have any room changes that took forever but made a huge difference? Hopefully this will make you feel more comfortable about painting paneling you might encounter in the future!
What do you think of the office now? Do you have any room changes that took forever but made a huge difference? Hopefully this will make you feel more comfortable about painting paneling you might encounter in the future!
I have the solution. It will involve tearing out the entire ceiling and replacing it. Just wait a few months and I'll come help! -Dad
ReplyDelete