
One thing I really enjoy doing is making each Halloween party into a costume contest. People seem to put more effort into what they wear if you show them that it was worth the effort. It also makes for a nice bragging memento of 'that night everyone liked me the best', and who doesn't like that?
Last year, I started with some skeletons and made some Emmy looking trophies. They were pretty cool and gave me a new appreciation for the covering power of gold spray paint. This is the one for the geekiest costume (which we still have because Scott won for his Dr. Venture costume).


This year, I wanted to do something a little different than just grabbing more skeletons and posing them. I ended up getting a couple of wooden plaques from Michaels (The same kind as I used for the skeletons, in case you're interested).


I also picked up a couple of props while I was at the dollar store to really give these guys some personality. For instance, I found a little bag of party favor trophies, so I decided that they would work great on the Best Overall trophy. Before hot gluing the skulls to the plaques, I laid everything out and made sure I liked the spacing.

After I had everything even, I began using the hot glue to glue everything down. I was sure to only try to put glue on the parts of the props that actually touched the plaques. This helped decrease the amount of glue that spilled over or created those annoying hot glue strings. The best way to find these 'glue points' is to look at your set up from the side and just see where everything touches.

When gluing the skulls, I was sure to put a good squiggle (technical term) of glue on both the bottom of the back of the skull and where there were mold relief holes behind the jaw. This seemed to keep them secure the most successfully.


When all of the skulls were attached, it was looking like a pretty good group. I actually let them dry for about 15 minutes just to make sure that the glue had set. This also helps the glue that is showing take any paint that might fall on it to cover it up.
Something else to keep in mind: the benefits of the trophies I made this year is that anyone who wants to add a wire to the back can actually turn any of these into wall hangings. The angle of the skull on the plaque allows it to be seen both laying down or hung up with nice visibility, so it makes it very versatile.

Something else to keep in mind: the benefits of the trophies I made this year is that anyone who wants to add a wire to the back can actually turn any of these into wall hangings. The angle of the skull on the plaque allows it to be seen both laying down or hung up with nice visibility, so it makes it very versatile.

I didn't attach the mustache or glasses to the Geekiest and Sexiest trophies yet because I didn't wish for them to be painted. Obviously if you happen to be putting something like this together yourself, it's up to you, but I liked the contrast.
When I was sure they were dry, I took them all out to the garage and whipped out the same can of spray paint that I used for the trophies last year. This can of Valspar seems to give good coverage and last a while, so I would recommend it.

As always, long sweeping motions make sure that the coverage doesn't drip. The nice thing is that even without a primer, this paint really pops. Here you can see the difference between the before and after. Isn't it amazing what a little gold paint can accomplish?

Be sure to paint the trophy from a couple of different angles as well. This will make sure that you paint under the jaw, under the back of the skull, and get all of the teeth covered.
Once they are finished getting glammed up, the skulls will look a lot more like trophies. It's time for finishing touches.

Once they are finished getting glammed up, the skulls will look a lot more like trophies. It's time for finishing touches.

Attaching the extra props follows the same rules as attaching the skulls and original props to the plaque. Use small amounts and only where they touch the skull.

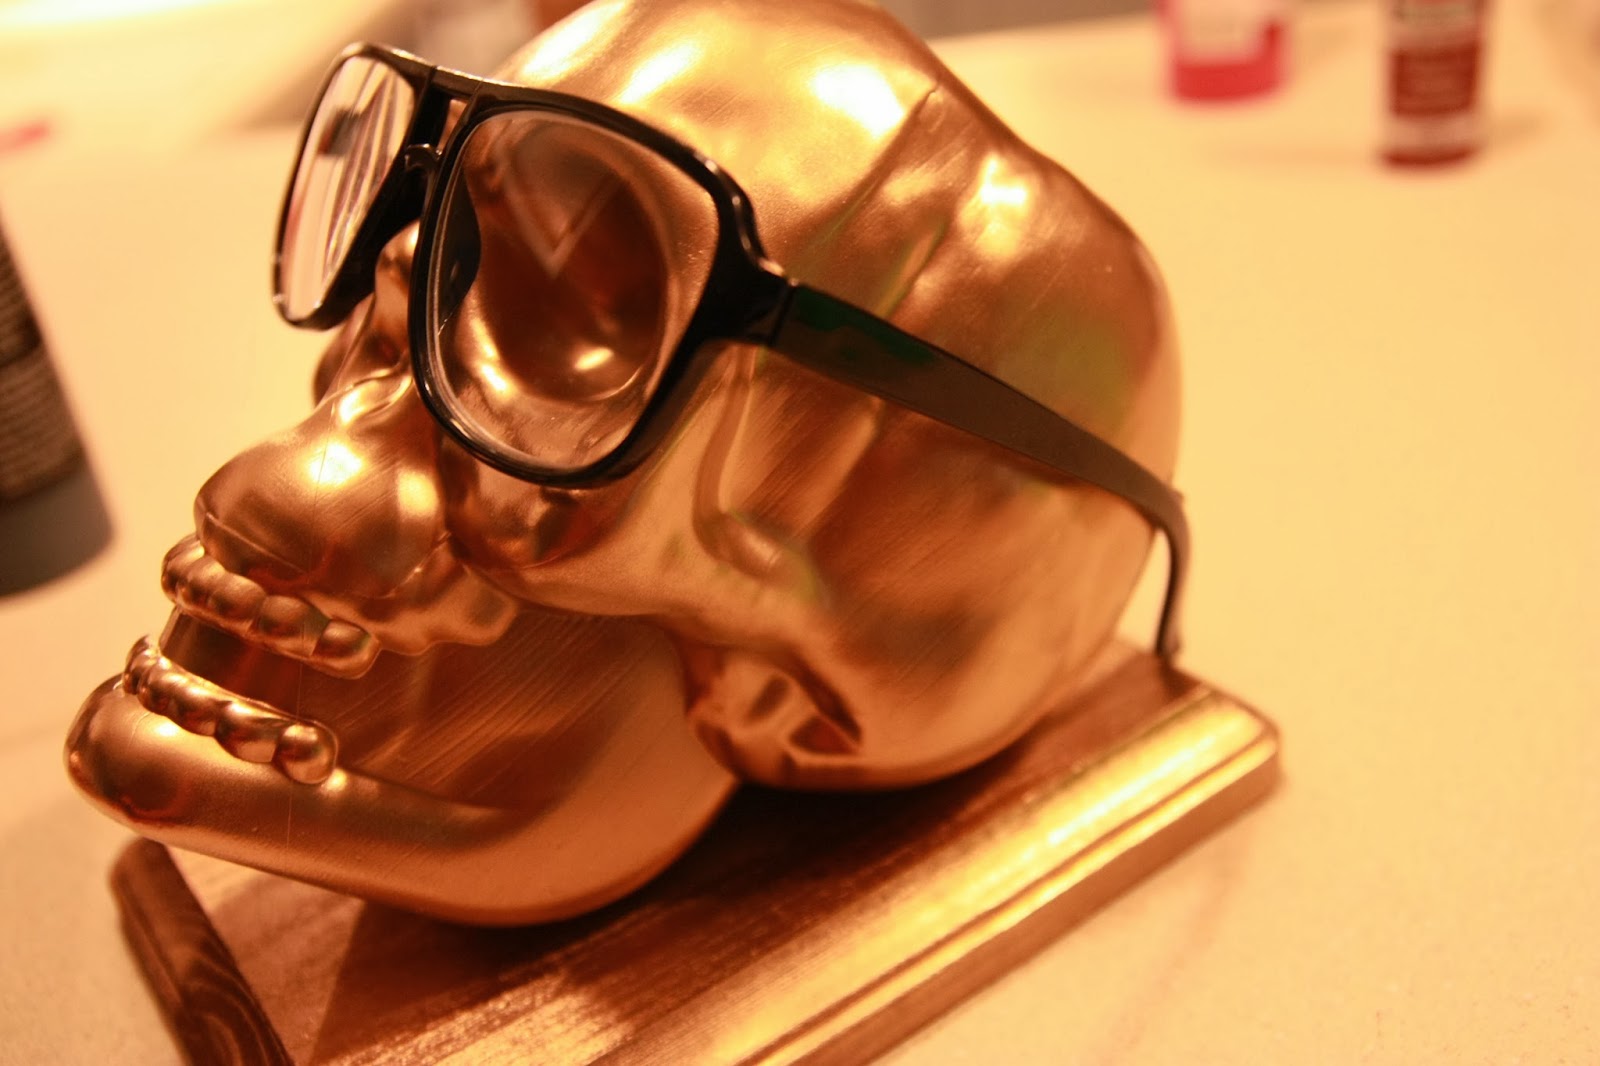
I only put two dabs of hot glue where the skulls ears would be to attach the glasses (which are also from the dollar store). This made sure that there wasn't a big glob of hot glue on the bridge of his would-be nose.


When they are finished, they look pretty spiffy. Allow me to introduce the trophy for the Sexiest Costume:

The Geekiest Costume:

And, last but not least, Best Overall Costume:

Pretty cool, eh?
(Oh, and in case you were wondering, a Medusa won Sexiest, Scott as Dr. Who (11th) won Geekiest, two Warblers from Glee won Best Couple, and female Indiana Jones won Best Overall!)
Do these inspire you to make some cool trophies of your own? I want there to be more contests to I can experiment with painting more things with gold paint!

The Geekiest Costume:

The Best Couple's Costume:


(Oh, and in case you were wondering, a Medusa won Sexiest, Scott as Dr. Who (11th) won Geekiest, two Warblers from Glee won Best Couple, and female Indiana Jones won Best Overall!)
Do these inspire you to make some cool trophies of your own? I want there to be more contests to I can experiment with painting more things with gold paint!
You should put these on pinterest. Very spiffy!
ReplyDeleteThey are! They've been repinned already and everything :)
ReplyDelete