Thursday, February 13, 2014

Bliiiinded by the Light

Don't act like this isn't the first thing that came into your mind.


Manfred Mann - Blinded by the Light


So earlier I promised to walk you through my curtain creating for the master bathroom which I had almost finished. We begin with the window.


I ended up going to Hobby Lobby (Hobb Lobb) and picking up 3/4 yrd. of Duck Cloth, which I thought would do really well in the moist shower environment. I picked out a really nice bold pattern because there isn't a lot of space for art, so I knew I could take some liberties. My fabric, with my Hobb Lobb coupon from the phone app, ended up costing $4. If you add that to what I have already spent on paint for this room, that comes out to a nice $8. That's right, less than $10 for a quick make over!

I already had scrap wood that I cut to size to hold the top of the curtain in place. I grabbed my sewing machine, drill, and staple gun and I was ready for faux!


I made sure that the top of my fabric was even by cutting along the line that the printed pattern gave. Then I lined up the scrap wood with the top to see how much space I was being given for seams.


I made it so that I could fold it over the edges of the wood to cover it, but only realized later that it was going to be stapled from the top anyway so that didn't matter. Oh well, no big deal.


I double folded the fabric and pinned it for the seams. Then, I just ran it through the sewing machine. Pretty easy so far.


I then laid out the fabric on the bed (I don't have a sewing table), and started playing with the length of the folds. I ended up with this, which I then pinned in place.


I gave the corners of each fold a couple of stitches to hold them in place. I figured that the tension from being stapled would hold up the folds. Spoiler alert, that was a minor mistake.


I made sure that the wood piece was still going to line up.


Then I headed into the bathroom. I predrilled and screwed three screws to secure the wood to the top of the window. I may have gotten a little close with the drill. Thank goodness for extra paint!

Oops.

Then I lined up the curtain and stapled it to the scrap wood. That's when the disappointment happened.

For some reason, the walls look REALLY GREEN in this pictures, but I think it's because it was a cloudy day outside. It's a little softer than eye-burning lime.
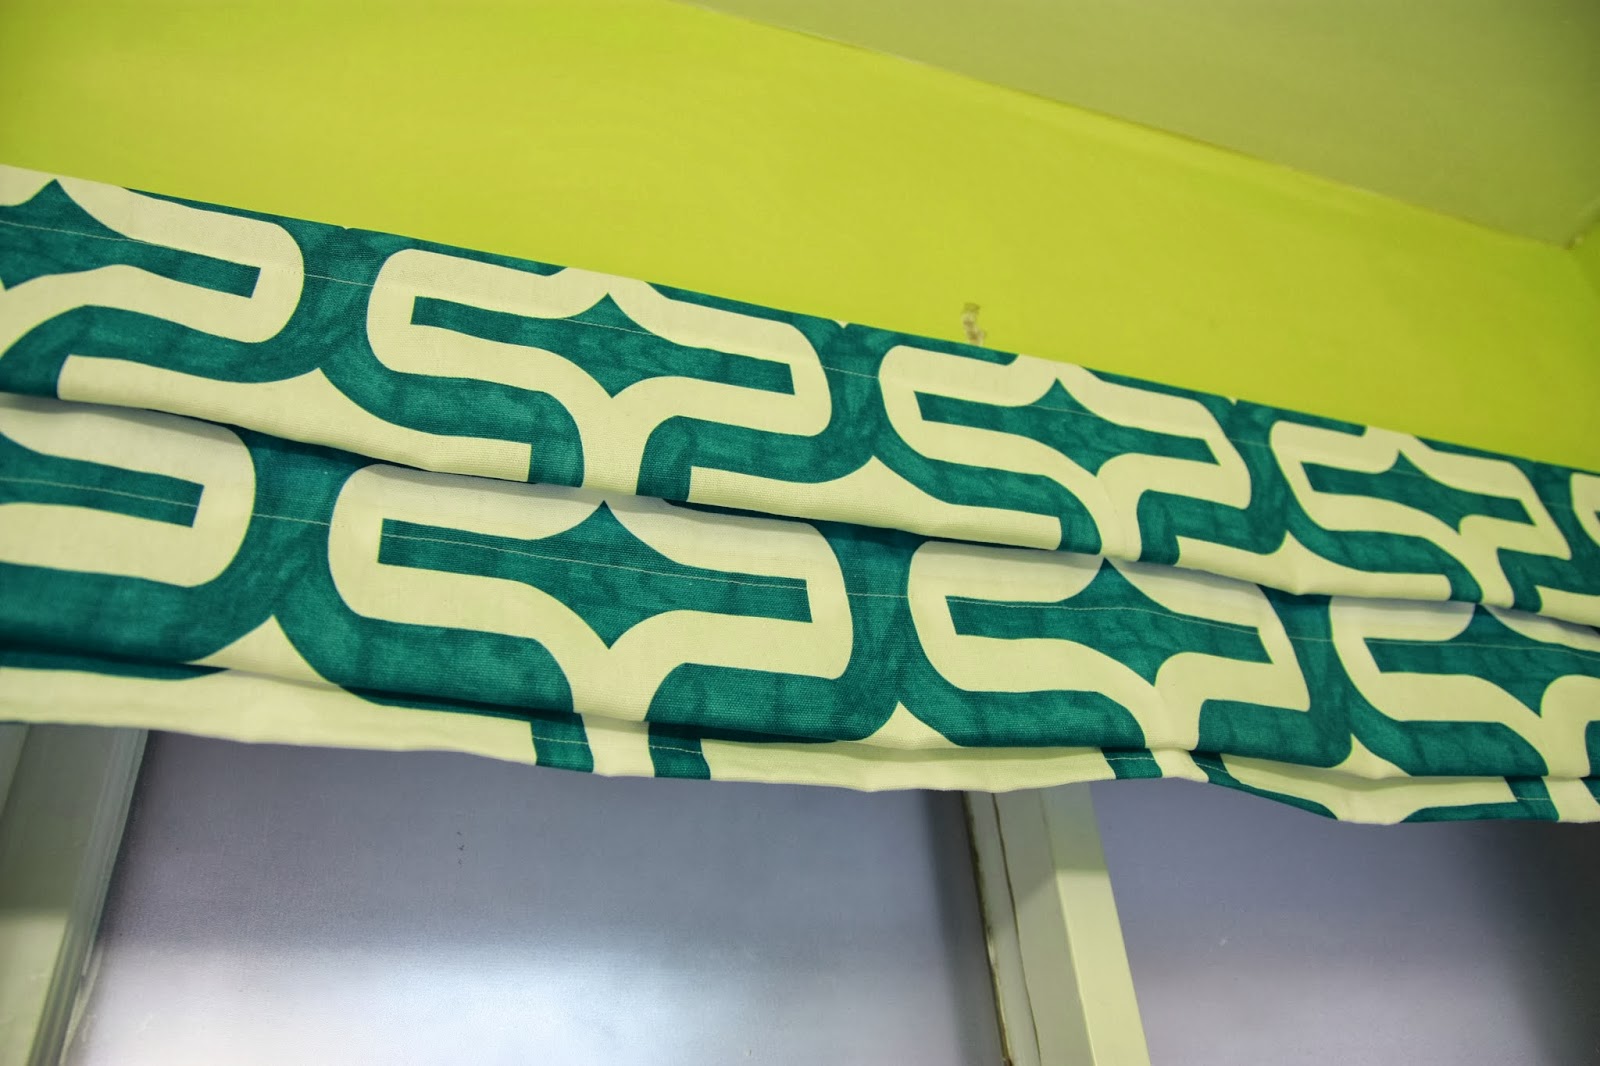
In REAL roman shades, there are stiffeners, like dowels, that hold each fold up. Essentially my blind had no structural integrity, so it collapsed. I ended up removing the staples and taking it back down. I ran stitching lengthwise down each fold to secure it and then was able to staple it back up.


It looked much better. Once again, this was a process of trial and error. My Mom made Scott and I curtains for our oddly wide and short bedroom windows (which I will feature when I someday get a coat of paint on those walls!), and made it look easy, so making the fake version in half the size gives me a lot of respect. Good job, Mom!

I have to say, the fake curtain really makes it feel like a real room. The finished product made me really happy I took the time to take it down, fixed it, and try again rather than giving up.


Yay for quick makeovers!

Wednesday, February 12, 2014

The Key West Rest(room)

When we moved into the house, we knew that the first thing we needed to do was take care of the pink bathroom. It felt a bit like being in the under-lit bowels of a human organ and it was a little gross. Now that it's been marked off the list, though, it was high time we made a couple of changes to the bathroom Scott and I use every day: The master.

This wasn't originally on the list of rooms we were really worried about. The blue-ish tile wasn't offensive, but it wasn't great. The issue really arose when I realized the tile would never truly come clean. It wouldn't. I scrubbed, bleached, and scoured to get the grime gone, but it never gave. The weird darker spots in the grout existed where you knew other people had been. Specifically, where other people had been dirty. It brought the whole room down on the cleanliness scale, and since that's where we clean ourselves, I finally decided to make a mini project out of it.

We started with this mild-mannered retro room-of-rest.

 I wasn't trying to be "oh so real". I just forgot to clean the room out and close the toilet before taking the picture. Sorry, folks!

It's a little difficult to tell (or maybe it's not. It's a palace next to the formerly pink guest bath), but it's kind of small.


It does feel much bigger than any bathroom we've had in an apartment for a while, though, due to the awesome window which lets in amazing natural light through most of the day.


I started by painting the tile white. It felt so wonderful and clean afterwards that it really transformed the space. It feels much more modern in there now. Then, I followed up with two coats of a lime green that reminded us of our honeymoon in Key West. I actually just bought two sample pots and have half of one left over, so all of the paint for the room cost $4 because I already had the oil-based primer and white paint. How awesome is that!


THEN! DISASTER!

We have painted tile before (as my MANY avid readers know, har har), so I should have known better. It takes a couple of days for the top coat of paint to cure enough to be able to take a shower. Unfortunately, without thinking, I gave it more like 14 hrs before my grossness was literally peeling the paint from the walls. We got as much off as we could and avoided using it for showers for a couple of days. The aftermath is pretty telling, though.


It kind of felt like this.


That is what the tile looks like with the completely dry oil-based primer still attached and the top coat peeled away. I would have just used the primer on it again and covered it until it was white, no one the wiser, but I know that when the primer is left for long enough, it starts to turn yellow.

I just waited the couple of days for what was there to cure, then I patched it up. No harm, except to my ego.


It was only after the Shower Debacle of 2014 that I realized that I also had another money saving update. We have an older shower curtain from our guest bathroom in the apartment that would be a little less psychedelic and match the room almost perfectly. I really liked the original curtain, but it didn't fit in with the relaxing atmosphere that I was going for.

Can you feel your face melting a little?

In such a small space, not only was it dark, but it made us feel a little more like this.


First, I tried the new one on for size.


And decided that we are Go for Curtain Oscar Shower Tango.


Win.

See how the colors match really well?


There was only one more thing I wanted to tackle before "finishing" this update. The window needed a little something.


I didn't want anything that would be a working shade because we love to use as much natural light as we can and the windows are already frosted for privacy. I remembered seeing a couple of pins on Pinterest about making fake roman shades, but unfortunately there are a thousand different approaches to this, including one with 3-5 tension rods and one that uses duct tape, so I figured I could piece this little project together on my own.

And THAT is what my next post is about (What a tease)! Until then, check out this rad before and after:


Monday, February 10, 2014

Musical Lights

I know it's been a while since I've updated, so at the specific request of a friend currently residing across the pond, I am going to try to catch back up on all the things happening under our roof.

When we decided to turn our front room into our dining room, there was one thing left for us to do to really make the rooms officially switched. The lights were a little mismatched.

In the new dining room, we had this.

Yes, that's one of our Christmas trees....I told you I was behind!

Which isn't terrible, but we already had a light for over our dining table. The issue is that it was in the room we were originally going to use as our dining room.


Not only was it low hanging, but also really felt out of place. If it had been closer to the ceiling, maybe it wouldn't have felt as weird. This wasn't a huge deal, though. It just involved switching these two fixtures out to really bring each spaces together.

We took down the capris shell light first, set it down while we took down the dining light, then just put the correct shades in the right places. I feel like it really helped the rooms (and helped Scott avoid hitting his head when walking into the living room!).


As you may or may not know, we are also huge fans of dimmer switches. We like being able to turn the lights down or up depending on our mood or activity (nice dinner verses rousing games of Scrabble!), so we installed this guy.


He allows us to dim the dining room light, so it really cozies up the room at night. If you're considering a dimmer switch, they are pretty easy to install (just make sure the power is off first), but they make a huge difference in a room.

I know this was a quick update, but there will be more to come! I recently decided to paint our bathroom, and we love the result, so keep checking back for a new bathroom post!