

After asking some questions and thinking it over, I texted her to pick it up. This began a three week journey for this fireplace accoutrement, from Restore floor to our dining room.
I had wanted a mantel for our dining room since we had moved in. It didn't need to work, it just needed to be a traditional representation of what a dining room means. It tends to be a place where people gather around a fire/table and be together. I also liked how it gave a more official dining room feel to a room that was originally the living room. It had always needed a little help not feeling like an after thought of an area.
On Pinterest, of course, I had fallen in love with this image from the blog Bless'er House.

It was visually demanding, yet very airy in the room. I loved the stone surround, but especially the wood cuts in the center. It was a definite inspiration for what our new acquisition was to become.
Since Mom and Dad weren't going to be in town for a while, they ended up storing the mantel for us. I slowly started receiving text updates.
Would you like me to strip the paint off?
I might be able to get a coat of paint on it before we bring it to your place.
Suddenly, the mantel was being worked on and I was getting pictures. I am pretty sure she was having as much fun working on it as I would have.
Here she is using a heat gun to remove the old paint. The original paint job was chipping and needed to be completely redone. She tried stripper first, but the heat gun apparently worked best.


She was then able to scrap off the old paint with a metal putty knife. I wouldn't recommend a plastic one because it might melt.

She followed up with stainable wood putty, some sanding, and a coat of white paint. The next time I saw it was when their truck pulled into my driveway. It looked great already! There was still much to do to install it, though.
We brought it inside and set it where we wanted it. After giving it side glances overnight, Dad brought up the idea of adding a hearth to the bottom. This would both lift the mantel off the ground and away from the moulding, but also help complete framing around the interior portion (where the wood or fire would normally go).
Dad and Scott started with a simple frame with 2x4s.

Since Mom and Dad weren't going to be in town for a while, they ended up storing the mantel for us. I slowly started receiving text updates.
Would you like me to strip the paint off?
I might be able to get a coat of paint on it before we bring it to your place.
Suddenly, the mantel was being worked on and I was getting pictures. I am pretty sure she was having as much fun working on it as I would have.
Here she is using a heat gun to remove the old paint. The original paint job was chipping and needed to be completely redone. She tried stripper first, but the heat gun apparently worked best.


When she really got going, she had taken off all of the original paint. In all, she said it took 16 hours! Never say I don't owe my mom!


We brought it inside and set it where we wanted it. After giving it side glances overnight, Dad brought up the idea of adding a hearth to the bottom. This would both lift the mantel off the ground and away from the moulding, but also help complete framing around the interior portion (where the wood or fire would normally go).
Dad and Scott started with a simple frame with 2x4s.

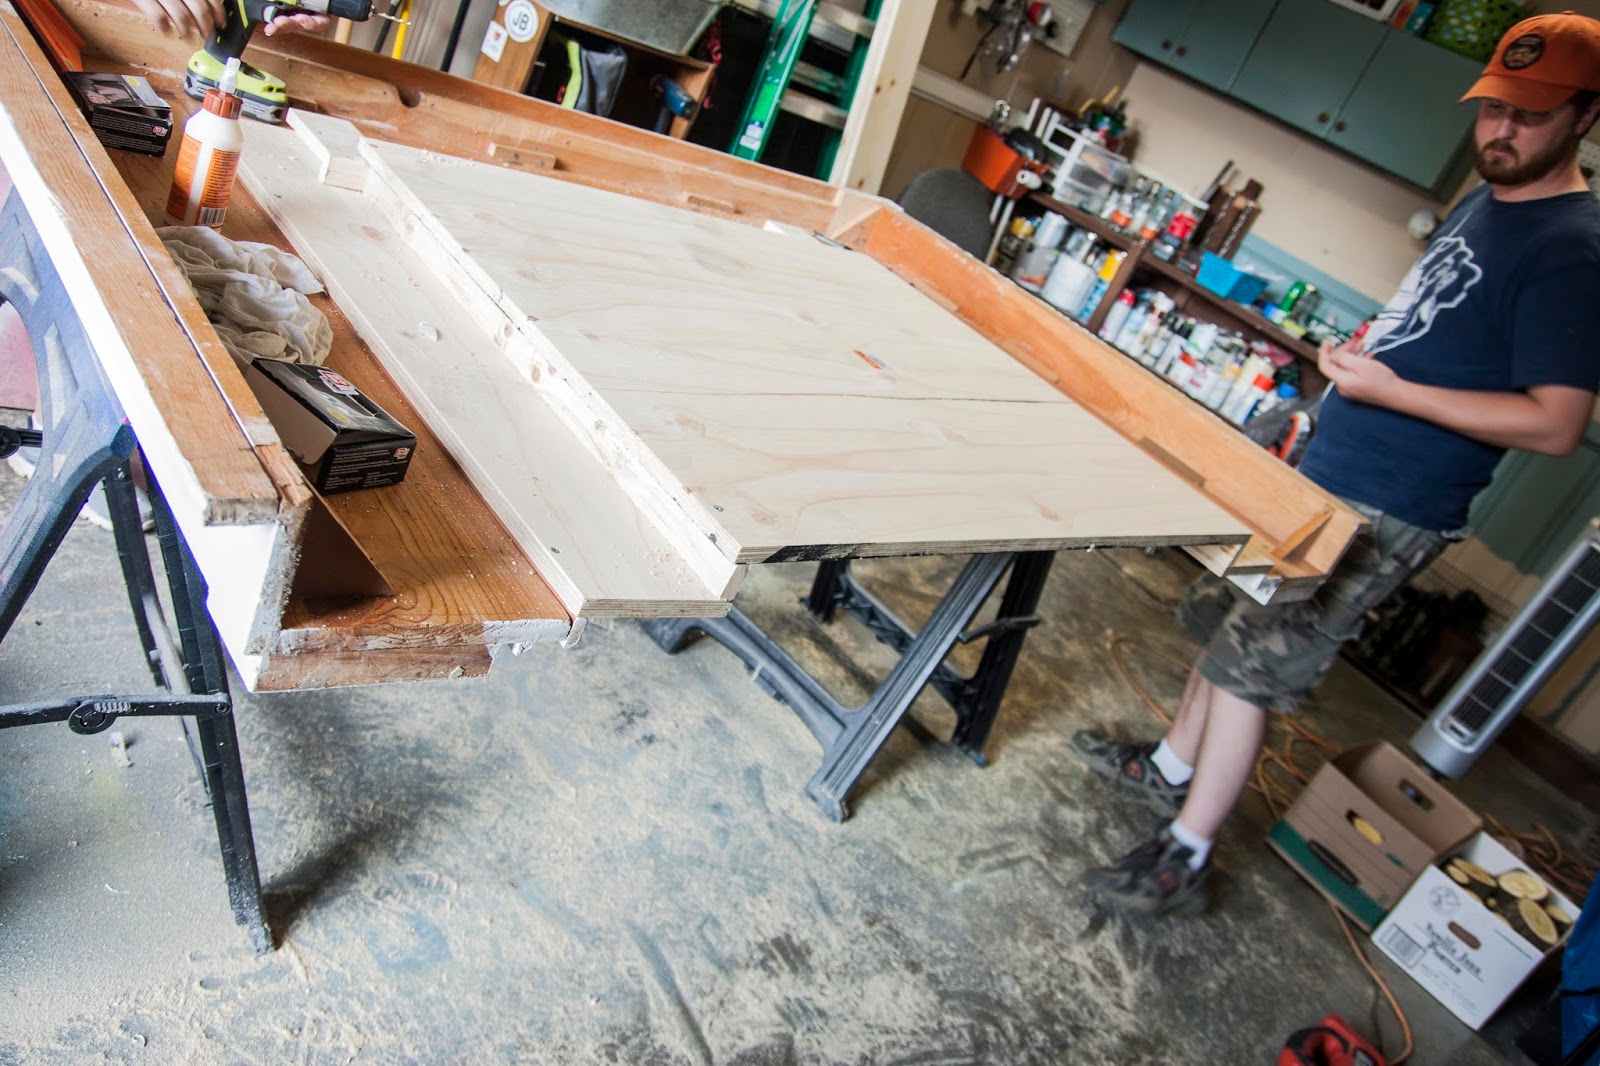
Then they skinned it in some nicer plywood. We had purchased a 4x8 ft piece at Home Depot and ended up needing most of it for the entire project. Strips of it were cut to size to skin the hearth. They were then attached with wood glue and nails from our nail gun.


Dad scroll cut the sides from a template Mom drew to fit it against the moulding and we brought it in to take a look.


We thought it looked pretty good, so Mom and I put a couple of coats of white paint on it while the boys started work on the actual mantel itself.
First, they added about a 6 inch surround to the interior of the mantel. This would keep the wood pieces from being visually overwhelming and also help it feel more realistic. They did this using the same piece of plywood from earlier.

Then, they attached small pieces of 1x2 around the opening as spacers to set back the interior piece a little. This added some nice dimension to the over all look.
The interior was yet another piece of the plywood. I had painting it black before they installed it so it would be easier to work on later. When the structure was completed it looked like this.

First, they added about a 6 inch surround to the interior of the mantel. This would keep the wood pieces from being visually overwhelming and also help it feel more realistic. They did this using the same piece of plywood from earlier.

The interior was yet another piece of the plywood. I had painting it black before they installed it so it would be easier to work on later. When the structure was completed it looked like this.
Notice the stair stepping of the layers.
At this point, the mantel now weighed twice as much, but of course, we weren't done. We carried it inside and checked it in its place. We were chugging along nicely.

We brought it back outside and began working on the interior and finishing stages of the process. I painted the inside of the opening black to match the background. Then we were off to the woodpile.


Spiffy
We brought it back outside and began working on the interior and finishing stages of the process. I painted the inside of the opening black to match the background. Then we were off to the woodpile.

Dad used this chainsaw and cut through a bunch of our branches that we have around for the fire pit. He eyeballed the size and was impressively accurate. For the smaller branches, he was able to set up a stop on our miter saw and get the same size every time.


While he cut, I began placing the pieces in the interior area of the mantel. After about 30 minutes, we had a very pleasing arrangement.


To attach all of the wood pieces, we had a very odd system (that worked really well!). Dad laid under the saw horses and I used a drill to drill a pilot hole from the top under each piece.

Then Mom came in and glued each piece down while Dad screwed in each log from the underneath so it didn't show. It looked a little something like this.


After about 20 minutes and my father being thoroughly covered in sawdust and glue, we were able to set the fireplace on end.


From behind, you can see alllllll the screws.
Of course, now that it was about 1,000 lbs, it was time to move it inside.


The hearth was first attached with L-brackets and anchors to the wall.


Then the mantel was attached using two screws with anchors as well.


It looked great! There was just one problem...
It was in the wrong place.
When this all began, I had measured the far wall to see if the two bookcases and the fireplace could all fit together. It seemed like the fireplace being centered would give that traditional vibe I was going for.
Unfortunately, numbers make fools of us all. I had measured and written down the wrong number. After living with the mantel on the side wall for a couple of days, my curiosity got the best of me and I remeasured. Sure enough, it would totally fit (with extra space) on the far wall.

I very sweetly told Scott that I had royally screwed up and he agreed to help me move it. The move, I must say, really helped cement this as one of my favorite house projects so far.

Much better!
What do you think, is it worth having an architectural piece if it doesn't work, or are fireplaces meant to be used, not just seen? I have to say, even though this guy will never heat our home, I'm already a big fan of how grand it makes the space feel. I can't wait to spook it up for Halloween and hang our stocking on it at Christmas!

PS-See the retro TV on the right? My Found TV Bourbon Bar Blog Post coming soon!
It was in the wrong place.
When this all began, I had measured the far wall to see if the two bookcases and the fireplace could all fit together. It seemed like the fireplace being centered would give that traditional vibe I was going for.
Unfortunately, numbers make fools of us all. I had measured and written down the wrong number. After living with the mantel on the side wall for a couple of days, my curiosity got the best of me and I remeasured. Sure enough, it would totally fit (with extra space) on the far wall.


What do you think, is it worth having an architectural piece if it doesn't work, or are fireplaces meant to be used, not just seen? I have to say, even though this guy will never heat our home, I'm already a big fan of how grand it makes the space feel. I can't wait to spook it up for Halloween and hang our stocking on it at Christmas!

PS-See the retro TV on the right? My Found TV Bourbon Bar Blog Post coming soon!
CAIT THIS LOOKS AWESOME I LOVE IT!!!
ReplyDeleteThere isn't one picture of you helping. Are you sure you were even there?
ReplyDeletePretty sure. I took most of the pictures!
DeletePretty sure. I took most of the pictures!
DeleteGlad you moved it. Looks much better in the new position.
ReplyDeleteHOLY CRAP!!! I am so, so impressed! It looks amazing! It looks really good between the bookshelves, good move.
ReplyDelete