
This year, we really focused on integrating some gags into our party. I really wanted the house to feel a little more spooky than usual, and I think that we accomplished just that.
The front of the house was adorned with our Dead & Breakfast Inn sign as well as our zombie hands and beheaded caretaker silhouette, but I wanted to add a couple of tombstones to give a little more dimension to our so-far 2D exterior. I grabbed some foam ones from the dollar store and Scott mounted them at the end of the walkway. His technique makes them reusable and less likely to fly away in high winds. It worked really well.


On the inside, I decided to break the house up into different areas and haunt each one accordingly. I started with the hallway. I borrowed some field dressing plastic from our friend Daniel and it stretched the entire length of the hallway, plus enough for a closure.


I then hung a clear packing tape ghost that Scott and I had made at the end of the hallway from the BASE of the smoke detector (not the mechanism itself. Don't do that!). Floating candles, made from toilet paper and paper towel tubes, hot glue, and white paint, were then hung with fishing wire sewn through the black plastic ceiling.


Each tube had a place for a tea light in the top so that it would safely glow while it "hovered". A doorway was created with draped black plastic to keep the hallway dark and a glow stick was attached to the "spine" of the ghost to add extra illumination. The end result was pretty awesome, but obviously, better in person.

We used the dining room table to serve food. I layered a spider web table cloth over a white table cloth to add a nice texture. Each dish was accompanied by a pair of fangs (spray painted silver) and a printed "scary" food name for each item.

The skeleton cheese plate was probably my favorite part of this table. It was super creepy, but still managed to be completely cleaned out by the end of the night! It's just a testament to people's love for cheese and crackers...


Above, you'll notice the TV bar is strung with KEEP OUT tape. This is where we put any bar ware that we didn't want people using throughout the night. It worked quite well, and all of our breakable/expensive alcohol and glasses were safe.
For a little added atmosphere, I hung the "scary" torn cheese cloth over the entry from the dining room into the kitchen.

For a little added atmosphere, I hung the "scary" torn cheese cloth over the entry from the dining room into the kitchen.

In the "Salon", guests were greeted by my indoor Halloween "tree". I made it by spray painting branches from outside. It was leaned against the wall and the crows have wire in their feet that help them stand up (or fall over, depending on if someone bumps it). It was a very simple, cost effective piece of decor that everyone loved.


The pictures that normally hang on the wall were replaced with face-changing images that I found at the Dollar Store. (Honestly the Dollar Store is where I get 80% of my Halloween supplies. They sell everything from cheesecloth to crows, cemetery fencing to wall hangings, and it all costs $1!)
The table between our chairs was turned into a fortune teller's table. I used the bulb cover from one of our old ceiling fans and a glow stick for the "crystal ball", with wadded up spider webbing under it to hide the flat bottom. The Tarot cards are actually just printed off from a website online (for free!), and the book I made myself. The table cloth was a piece of scrap from Hancock Fabric for about $2, but a cool scarf would also be perfect.

The kitchen was a great space for taking pictures, so I grabbed some backdrop wall hangings from the Dollar Store and we used Command Strips to hold them up. Everyone seemed to have a great time getting pictures together with their costumes, so I know I'll be doing that again next year.


The living room had the bar, so I made sure to add a jack-o-lantern, small skeleton, and some bugs to keep it themed but not overwhelming. I also found some great signs to hang right under our shelf. In previous years, I've covered the bar top in spider webbing, but it always just gets gross and needs to be thrown away afterwards. This way, I was able to cut down on the mess and just let the blacklight overhead speak for itself.

The table between our chairs was turned into a fortune teller's table. I used the bulb cover from one of our old ceiling fans and a glow stick for the "crystal ball", with wadded up spider webbing under it to hide the flat bottom. The Tarot cards are actually just printed off from a website online (for free!), and the book I made myself. The table cloth was a piece of scrap from Hancock Fabric for about $2, but a cool scarf would also be perfect.


I wanted to make another scary-ish gag for the living room. I wanted it to glow in the blacklight and really help set the atmosphere. I found some inspiration online from someone who had made a man eating plant out of a Styrofoam pumpkin. I used that as a base idea and ran with it. I couldn't be more pleased with how he turned out!


In the living room, we set up Scott's projector and showed old horror films on the screen, which was hung from the ceiling. I used two of our battery operated candles and placed them in some lanterns that I hung on either side of the screen with fishing wire. It gave a really cool old creepy drive in feel (but unfortunately, there were no pictures taken of it. Sorry!).
The garage was the last area. I thought that our work bench might be a great place for a mad scientist lab, so I started with some genetically altered giant spiders. I grabbed a bunch from the Dollar Store and spray painted them with florescent spray paint so they would glow in the black light.

The garage was the last area. I thought that our work bench might be a great place for a mad scientist lab, so I started with some genetically altered giant spiders. I grabbed a bunch from the Dollar Store and spray painted them with florescent spray paint so they would glow in the black light.

I then grabbed a white sheet from Goodwill and cut a giant spiderweb out of it. This was stapled up around the workbench.


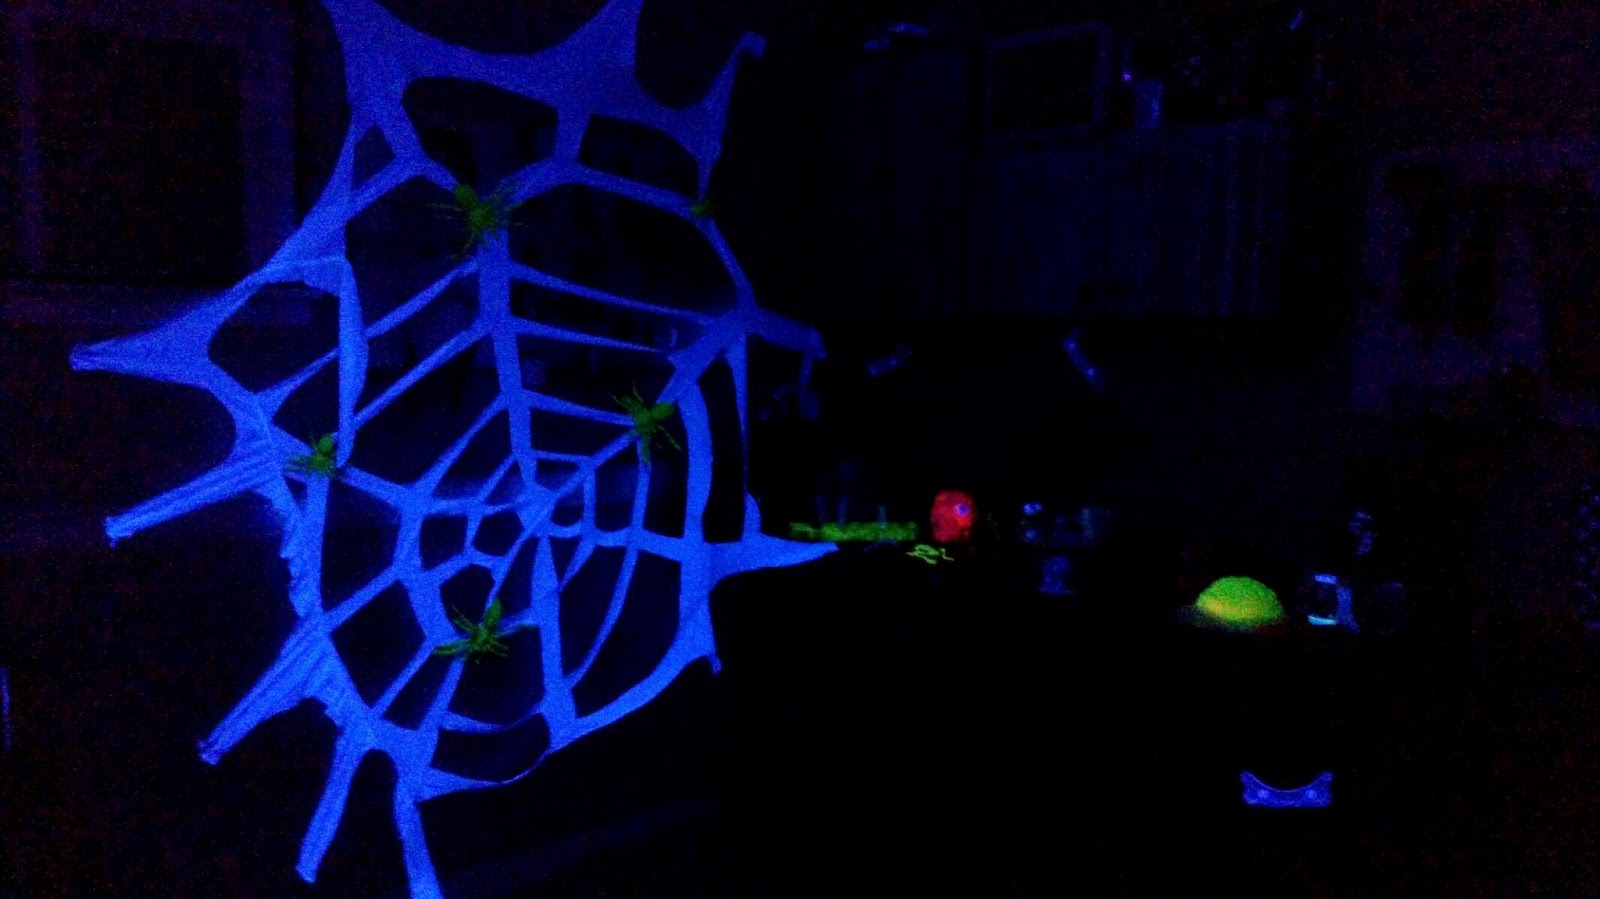
We put blacklight bulbs in our overhead work light, so the whole room was rigged to glow. I was then able to find things to populate the lab table, including vials and specimens.


Sorry for the fuzz. It was a little dark!
To finish it off, I made a simple structure with wood and covered it in towels to make the shape of a body. This was then wrapped in a white shower curtain and held together with twine. I covered the table with aluminum foil to give the "morgue" an extra touch.


This guy hung out next to the beer pong table and under a flock of glow-in-the-dark bats from the Dollar Store that "flew" around the ceiling.


Last but not least were the trophies for the costume contest. I am usually known for making the trophies myself, but this year, I felt a bit overwhelmed with the rest of the decorations. My dad helped me out by creating some cool custom Zombie Snowmen as trophies and everyone loved them!


From left to right:
-Geekiest Costume
-Best Couples Costume
-Best Female Costume
-Best Male Costume
All of the guests were so excited about them that I kept having to check to make sure none had mysteriously disappeared before all the votes were in!
The night was great and I was so excited to share the house with our friends. Thanks to the Morri and Farrars for helping with all of the set up and keeping me sane! I am also thankful to Jori and John for taking pictures while I hosted all over the place!
What's the greatest Halloween gag you've ever seen in someone's house? Let me know below!
-Geekiest Costume
-Best Couples Costume
-Best Female Costume
-Best Male Costume
All of the guests were so excited about them that I kept having to check to make sure none had mysteriously disappeared before all the votes were in!
The night was great and I was so excited to share the house with our friends. Thanks to the Morri and Farrars for helping with all of the set up and keeping me sane! I am also thankful to Jori and John for taking pictures while I hosted all over the place!
What's the greatest Halloween gag you've ever seen in someone's house? Let me know below!

.jpg)


