Tuesday, November 25, 2014

Happy Friendsgiving!

Happy Friendsgiving, everyone!

If you aren't familiar with the sentiment, let me give you a quick history. For the last couple of years, Scott and I have loved being able to share a Thanksgiving meal with our friends before the official Thanksgiving. This is usually due to our love of cooking, delicious leftovers, and our friends themselves.

It's a pot luck, keeping it from being stressful or financially burdening for any one person. Scott and I are always in charge of the turkey, using the same recipe that Alton Brown uses, which has never failed us. This year, just to mix it up a bit, we purchased two turkey breasts and roasted one in the oven and smoked the other. They were wonderful!


Since I had some time on my hands the week before the dinner, I decided to make the table a little extra special, too. Since it looks a lot more expensive than what I spent to make it happen, I figured I'd share the rundown of where I got what and how much everything cost.

First, check out the spread!


Let's start from the bottom. The tablecloth (which I couldn't get to un-wrinkle. So frustrating!) is one that we had from last Thanksgiving. Win! Unfortunately, we had to put a card table at the other end of the table, so I had to get a white table cloth from the dollar store to cover just that smaller section. It looked as seamless as a shorter table next to a taller table can look.

The burlap table runner is actually from our wedding, so it was no cost to us. The chargers for the plates are from the dollar store. They only had gold, so that chose the color scheme for the whole table.


The candle holders are from the dollar store. I decided that since it was Fall, floating pine cones in them would be the way to go.

Things I Discovered About Pine Cones:
1. Pine cones smell when you bake them to get them ready for crafts.
2. When pine cones get wet, they close up so they look like poo instead of pine cones.
3. Pine cones seep a red liquid that looks like they are bleeding to death when submerged in water.

Thankfully, we filled our candles with water before anyone showed up, so we were able to cycle out the water. It looked like a pine cone sacrifice without the water change, though.


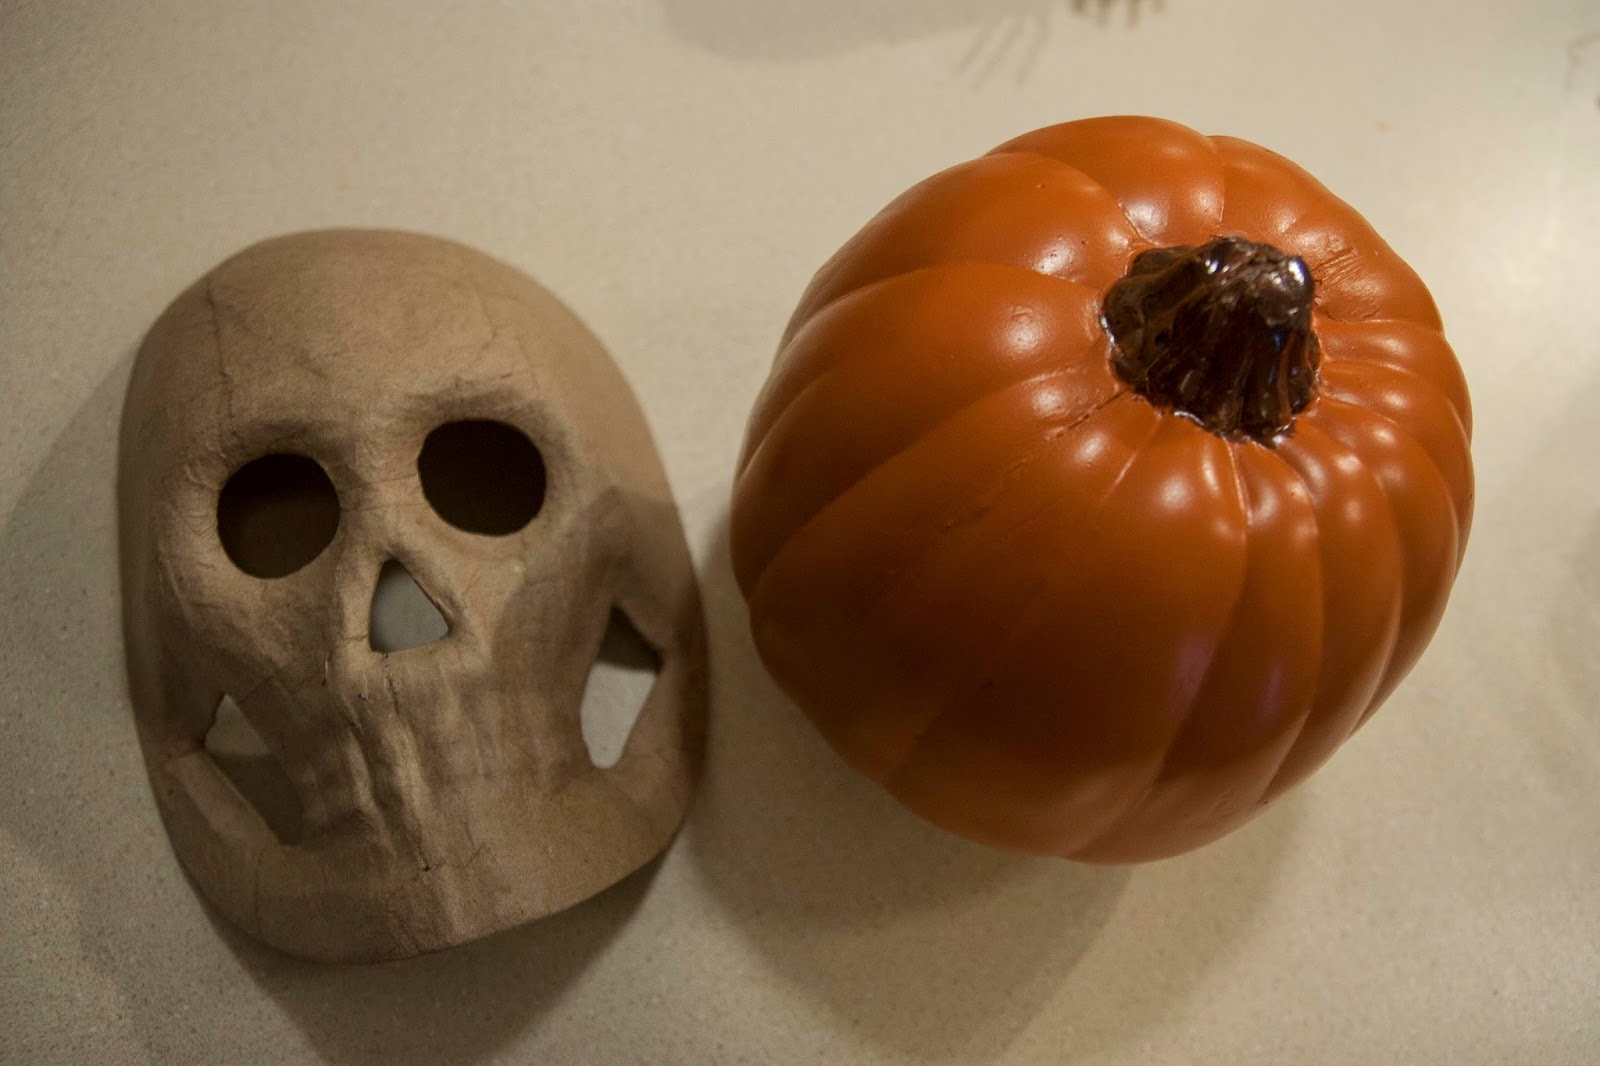
The gold pumpkins and leaves were a lucky find. I was walking through Home Depot when I spied two clearance carts out near the paint section. They held two larger gold pumpkins and two small bags of foam bright orange smaller pumpkins. All were only $1 each! I grabbed all of them and headed next to Michaels. There, I managed to get my hands on the last fake Fall leaves in ALLLLLLL of Lexington. Thankfully, these were also a dollar. Score!

The larger pumpkins were already gold, so they went directly to the table. The leaves were "natural" Fall colors, though. Reds, oranges, yellow colors with a little bit of gold glitter on them. I ended up laying them out in the garage floor and giving them each a good spray with my favorite gold spray paint (Rustoleum Metallic Gold has the best luster and is more mirrored than the others). They turned out really well for $2 worth of leaves ($1 per package)!


The bright orange little pumpkins got some special treatment. They were each spray painted white. The white spray paint mixed with their original orange color, making them look a little odd. I ended up hand painting them all white with regular craft paint (which is why they are matte and not shiny). I then turned them upside down and sprayed all of the bottoms gold. Once they had dried, I just painted over all of the drips and gold paint that I didn't want to see with more white paint. This whole process makes them look dipped without having to pay for a ton of gold paint or use painters tape (which I was afraid would peel off the paint that had already been applied).


I used just regular paper plates, napkins, and plasticware that we already had. I could have used real plates, but that would have been a lot more clean up that I just didn't want to do. This way, the only things left after dinner were things that could be stashed for my next dinner table arrangement, but no dirty dishes.


My favorite little touch was the little wreath of rosemary that I made for each seat. They were made from the fresh rosemary that you can buy from any Kroger or Publix and were very simple to make. Simply take a sprig, bend it into a circle and use small gauge/ floral wire to keep it together. I designed and printed some cute tags and then just tied them on with some twine that I had. They were an easy way of making it feel like a more personal dinner, especially with there being 14 of us. They also made the tale smell amazing!


Here's a price rundown:

Chargers: $14 (for 14)
Rosemary: $5
Pumpkins: $4 (for all of the large and small ones)
Leaves: $2
Card Table Tablecloth: $1
Tablecloth: $0
Table runner: $0
Plates: $0
Napkins: $0
Silverware: $0
Wreath Tags: $0

Cost: $26 for 14 place settings. Not bad! And it's all reusable! Huzzah!


It turned out so well, I am looking forward to doing more table settings in the future. For right now, though, we are just loving the leftovers from our fun little dinner with friends. Nothing like a large pot of (freezable) gumbo stew made with the leftover turkey to keep you warm!

Nom nom nom. If you're interested, you can find the recipe for this stew here.

Fancy or not, we hope everyone has a Happy Thanksgiving! 

Thursday, October 23, 2014

Cheapy and Creepy

Halloween is probably our favorite holiday, so we like to make sure that the house feels just a little creepy to get everyone in the mood. We didn't want to spend a lot this year, though, so here are some of my secrets to a wallet-friendly spooktacular space.

There are a couple of small details around the house that I love. We don't have a mantel, so under the TV acts as a nice decorating platform.


Black fabric draped over stacks of books or blocks gives a nice 'uneven ground' to start with. I then layered it with white spiderwebs to give it a spooky feel. Add props to give it dimension and one more thin layer of spider webbing and you're done! Webbing can be reused year to year if it's stored in a ziplock bag, so we haven't purchased webbing in a couple of years. The props came from the dollar store or knick knacks that were 90% off at Target after last year's Halloween. Keep interesting (and non interesting such as salsa, sauces, etc.) jars and clean them out really well. There are printable fun tags online that you can tape or glue to them. You can even skip the labels and just add water and a little food coloring to add a creepy mad scientist effect.


Our french doors needed a little something more than being strung up with spider webs (like last year), so I decided to take a hint from The Walking Dead and make them look really spooky. I saved up cardboard for a month or so and cut it so that it looked like boards. I then just hot glued them together in layers until it created a good canvas for my signs. Lastly, I sloppily spray painted the words and allowed them to dry in the garage.


Remembering that we had left over wreath hangers around, we just used those to hang them on the door. Depending on if your doors are opened or closed most of the time will depend on what door gets what sign, but when ours are closed they look like this. (They do tend to stay open more often then not).


In the old dining area (which has been dubbed by a friend of ours as 'The Salon'), we just replaced our regular pictures with some smaller haunted pictures that were at Target for $1 each. They're kind of small so I'd like to replace them at some point, but for now, they do the job.


The guest bathroom is always fun. I reused the 'bloody' shower curtain from last year (made with a dollar store shower curtain, some red craft paint, and my hands) and the fake dead hand that I found at Walmart for $2 probably 5 years ago. If you want to make your bathroom really feel like it's from Psycho, unscrew all but one bulb just enough so that they don't glow. It makes it so guests can still see, but it gives it an eerie effect, too.


The most fun we had this year was in the front of the house. I had seen something on Pinterest about silhouettes and decided that the garage could use a little zombie love. I took some of my leftover cardboard and used hot glue to make four pieces the size of our garage windows. Then, I traced my left hand repeatedly with sharpie in different gruesome positions. Once I had a configuration I liked, we cut them out of the cardboard with an X-acto knife.


Then they were painted with some black spray paint we happened to have in the garage.


I then just used some duct tape to attach them to the door. I also placed some wax paper behind each one so that the green-light-bulbed work lamp we hung from the garage door opener would be diffused a little.


The results were pretty amazing from the outside.


It looked great, especially with our larger window harboring a grim reaper large window cling ($4, after Halloween special at Target, but could be made like the hands out of cardboard) and a couple of foam tombstones (dollar store). We just replaced the regular light bulb with a green one in a stand up lamp in our dining room to match both window colors.


Together, they really set a creepy mood for anyone approaching the house.


Later on, we were able to turn on a jack-o-lantern in the bottom left corner of the large window.


On the outside, though, it adds just a hint of a haunting.


We really love the way everything turned out, and nothing says Halloween more than approaching a house that looks either haunted or full of Halloween fanatics!


We hope this inspires you to really spook up your own haunt this October! Do you have any other great tips for awesome Halloween decor on a budget? Let us know in the comments!

Monday, October 20, 2014

I love GOOOOOOLD


Who doesn't?

That's why I figured I would once again show you guys out there in Blogland my steps for making our Halloween party costume trophies!

Last year, I gave a tutorial on how to create skull based trophies. The year before that, our skeleton trophies were my first attempt at DIY prizes for our little party. This year, though, I decided to go even different....er. In fact, there was no running theme between them aside from the color gold.

I started by making a couple of purchases at Michaels that I thought would be good bases for each trophy. First, I worked on the Best Couples costume. I found these two molded-clay skeleton hands for $3 each. I liked the idea of them holding on to each other in a helpful way. I played around with how they should be arranged until I ended up with this configuration.


You can see where I placed some hot glue in the thumb joint where they meet. I only found out later that the hot glue didn't really bond with them, so it fell off. Super glue worked perfectly and resolved this problem fast.


The second category I worked on was for Best Overall. I decided to go a little 'creepy Indiana Jones-type idol' style with this. I found a foam skull, plastic skeleton hands, and a base that I thought would do the trick.


I attached the first three hands to the base using hot glue (which this time held with no issues).


I then continued attaching more hands to create a sort of nest for the skull to sit in.


Being sure to add glue at all of the points of connection with the hands, I then attached the skull.


Since I had some hands left over, I gave this guy a nice high hand-bone collar in the back. I just made sure to use minimal hot glue at strategic points to give it stability.


I was ready to start painting. My other two trophies needed paint before they could be assembled. The mask is for Sexiest Costume and the pumpkin is for the Geekiest.


I know that I have touted the use of spray primer on many of my spray paint projects...but I am going to say it again...USE A PRIMER. In this case, I would especially recommend it because you are painting all kinds of different materials and it will make your gold paint much more saturated.


The difference between not using a primer and using a primer is painting over different shades of brown on the Best Overall trophy vs getting to paint essentially a blank slate. It makes a world of difference.


Once I had given the primer ample time to dry, I was finally able to start in with the gold spray paint. I use Rustoleum Metallic Finish Gold. After three years of making gold trophies (Three years in a row, four trophies per year, two coats each...you do the math), my can has finally run out of paint. That's not a bad investment is you decided you want to make this a yearly project.

I started with a light coat, then another to finish up the Geekiest, Best Overall, and Couples. I made sure (especially with the Couples) to turn the trophy over in order to really cover all the nooks and crannies. Here it is in the process.


Everything was given another couple of hours to dry. I was then able to start working on the Sexiest trophy. The inside of the mask was gold, but the outside was left white for decoration. This is just a $2 mask from Michaels.


I liked the sort of chalky look of the primer, so I was able to start in with the details. I began by penciling in my design. If you need inspiration for a sugar skull paint job, there is a lot of inspiration on the interwebs.


Using some craft paint and small craft brushes, I just covered my lines in my chosen colors. My biggest concern was just getting the design bold enough at this point.


Using more hot glue (because my life is held together by it, honestly), I applied rhinestones. I have decently sized nails, so they were a little tricky to apply. Don't add too much glue at one time before you're ready because it will harden before you can apply half of these small gems.

At Target, they sell pumpkin glasses, which are kind of reflective and cute. I purchased the pack they came in, chose the classic nerd specs, added a little ribbon to the center as tape, then added it to this adorable gold hunk.


They all turned out great! Everyone was super stoked to have won them and I even had one Instagramed at the party because the winner was so excited!

Geekiest Costume:


Sexiest Costume:


Best Couples Costume:


Best Overall Costume:


What worked out the best was the spray paint eating through the foam, leaving a creepy, melted look to the skull.


I really loved the trophies this year, but even more, I loved being able to give them to the winners. Here is a big chunk of the people that showed up, including our winners!


Geekiest: A Brony
Sexiest: A Moulin Rouge Dancer
Couples: Finn in pajamas and Fiona from Adventure Time
Best: Death (Who couldn't drink unless he had a straw because of his mask. Dedication!)

Do you have any big Halloween plans? I've got even more updates for later this week on how we tricked out the house (on a tight budget). Stay tuned!