Showing posts with label dining. Show all posts

Tuesday, December 8, 2015

Boos and Booze 2015 (A Retrospective)

Halloween has quickly come and gone, but the memories of this years party shall live forever! (At least it will now. Sorry this post is so late, but I had to gather everyone else's pictures of the night since I didn't have time to take any. I hope this spooky beginning to your December holiday sparks ideas for next years Halloween!)

This year, we really focused on integrating some gags into our party. I really wanted the house to feel a little more spooky than usual, and I think that we accomplished just that.

The front of the house was adorned with our Dead & Breakfast Inn sign as well as our zombie hands and beheaded caretaker silhouette, but I wanted to add a couple of tombstones to give a little more dimension to our so-far 2D exterior. I grabbed some foam ones from the dollar store and Scott mounted them at the end of the walkway. His technique makes them reusable and less likely to fly away in high winds. It worked really well.


On the inside, I decided to break the house up into different areas and haunt each one accordingly. I started with the hallway. I borrowed some field dressing plastic from our friend Daniel and it stretched the entire length of the hallway, plus enough for a closure.


I then hung a clear packing tape ghost that Scott and I had made at the end of the hallway from the BASE of the smoke detector (not the mechanism itself. Don't do that!). Floating candles, made from toilet paper and paper towel tubes, hot glue, and white paint, were then hung with fishing wire sewn through the black plastic ceiling.


Each tube had a place for a tea light in the top so that it would safely glow while it "hovered". A doorway was created with draped black plastic to keep the hallway dark and a glow stick was attached to the "spine" of the ghost to add extra illumination. The end result was pretty awesome, but obviously, better in person.


We used the dining room table to serve food. I layered a spider web table cloth over a white table cloth to add a nice texture. Each dish was accompanied by a pair of fangs (spray painted silver) and a printed "scary" food name for each item.


The skeleton cheese plate was probably my favorite part of this table. It was super creepy, but still managed to be completely cleaned out by the end of the night! It's just a testament to people's love for cheese and crackers...


Above, you'll notice the TV bar is strung with KEEP OUT tape. This is where we put any bar ware that we didn't want people using throughout the night. It worked quite well, and all of our breakable/expensive alcohol and glasses were safe.

For a little added atmosphere, I hung the "scary" torn cheese cloth over the entry from the dining room into the kitchen.


In the "Salon", guests were greeted by my indoor Halloween "tree". I made it by spray painting branches from outside. It was leaned against the wall and the crows have wire in their feet that help them stand up (or fall over, depending on if someone bumps it). It was a very simple, cost effective piece of decor that everyone loved.


The pictures that normally hang on the wall were replaced with face-changing images that I found at the Dollar Store. (Honestly the Dollar Store is where I get 80% of my Halloween supplies. They sell everything from cheesecloth to crows, cemetery fencing to wall hangings, and it all costs $1!)

The table between our chairs was turned into a fortune teller's table. I used the bulb cover from one of our old ceiling fans and a glow stick for the "crystal ball", with wadded up spider webbing under it to hide the flat bottom. The Tarot cards are actually just printed off from a website online (for free!), and the book I made myself. The table cloth was a piece of scrap from Hancock Fabric for about $2, but a cool scarf would also be perfect.


The kitchen was a great space for taking pictures, so I grabbed some backdrop wall hangings from the Dollar Store and we used Command Strips to hold them up. Everyone seemed to have a great time getting pictures together with their costumes, so I know I'll be doing that again next year.


The living room had the bar, so I made sure to add a jack-o-lantern, small skeleton, and some bugs to keep it themed but not overwhelming. I also found some great signs to hang right under our shelf. In previous years, I've covered the bar top in spider webbing, but it always just gets gross and needs to be thrown away afterwards. This way, I was able to cut down on the mess and just let the blacklight overhead speak for itself.


I wanted to make another scary-ish gag for the living room. I wanted it to glow in the blacklight and really help set the atmosphere. I found some inspiration online from someone who had made a man eating plant out of a Styrofoam pumpkin. I used that as a base idea and ran with it. I couldn't be more pleased with how he turned out!


In the living room, we set up Scott's projector and showed old horror films on the screen, which was hung from the ceiling. I used two of our battery operated candles and placed them in some lanterns that I hung on either side of the screen with fishing wire. It gave a really cool old creepy drive in feel (but unfortunately, there were no pictures taken of it. Sorry!).

The garage was the last area. I thought that our work bench might be a great place for a mad scientist lab, so I started with some genetically altered giant spiders. I grabbed a bunch from the Dollar Store and spray painted them with florescent spray paint so they would glow in the black light.


I then grabbed a white sheet from Goodwill and cut a giant spiderweb out of it. This was stapled up around the workbench.


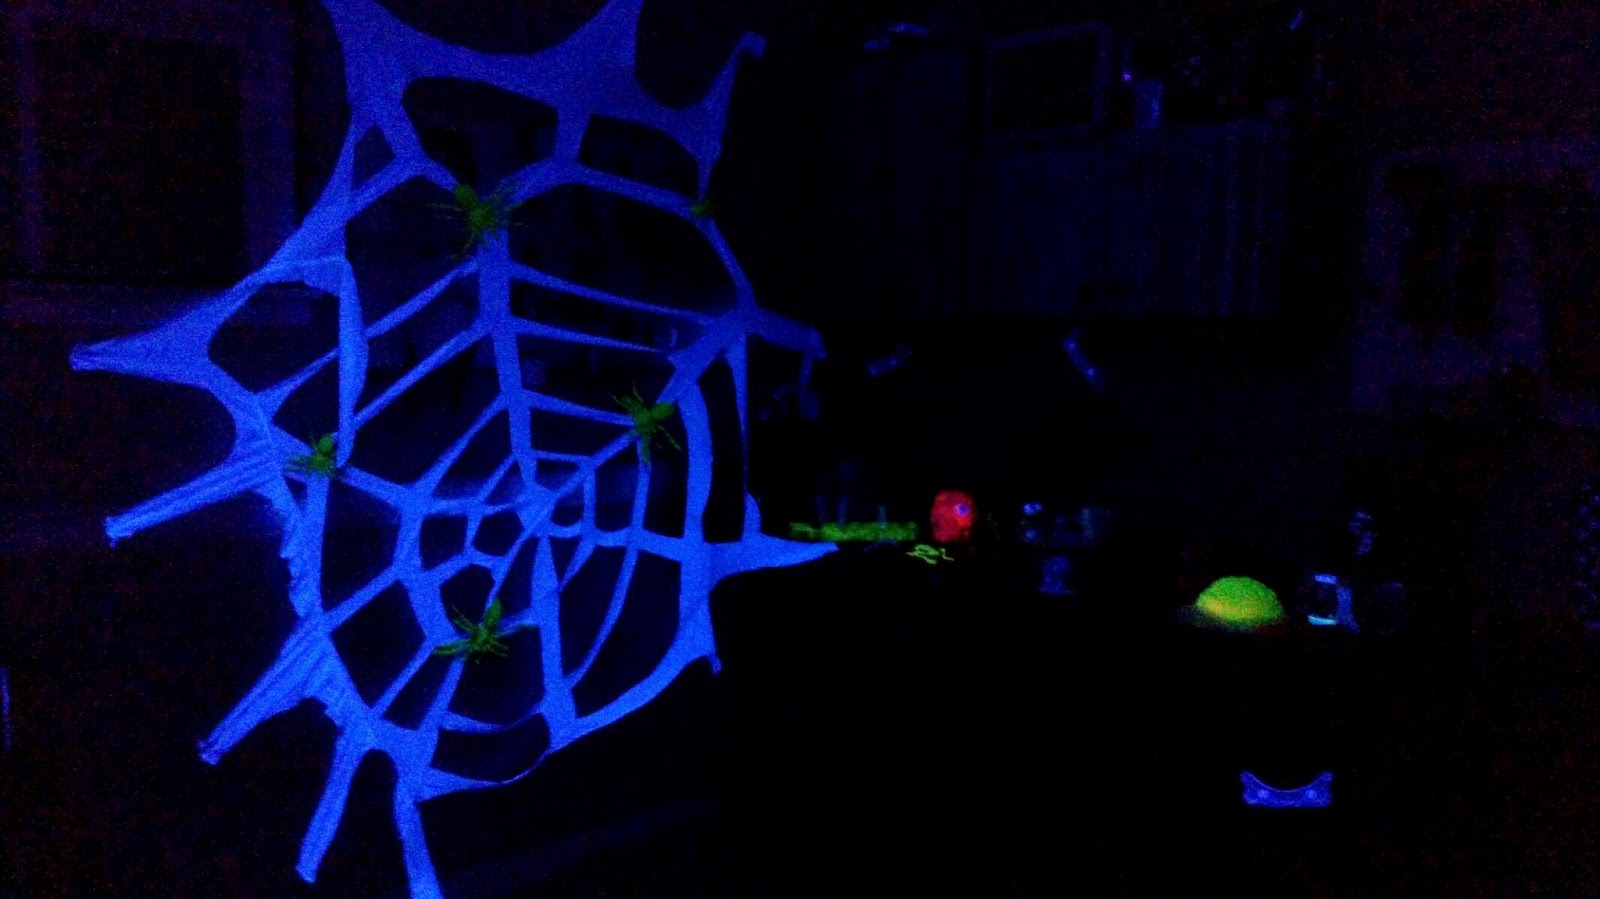
We put blacklight bulbs in our overhead work light, so the whole room was rigged to glow. I was then able to find things to populate the lab table, including vials and specimens.


Sorry for the fuzz. It was a little dark!

To finish it off, I made a simple structure with wood and covered it in towels to make the shape of a body. This was then wrapped in a white shower curtain and held together with twine. I covered the table with aluminum foil to give the "morgue" an extra touch.


This guy hung out next to the beer pong table and under a flock of glow-in-the-dark bats from the Dollar Store that "flew" around the ceiling.


Also hanging around the house were some cool origami bats that I made using this tutorial.


Last but not least were the trophies for the costume contest. I am usually known for making the trophies myself, but this year, I felt a bit overwhelmed with the rest of the decorations. My dad helped me out by creating some cool custom Zombie Snowmen as trophies and everyone loved them!


From left to right:
-Geekiest Costume
-Best Couples Costume
-Best Female Costume
-Best Male Costume

All of the guests were so excited about them that I kept having to check to make sure none had mysteriously disappeared before all the votes were in!

The night was great and I was so excited to share the house with our friends. Thanks to the Morri and Farrars for helping with all of the set up and keeping me sane!  I am also thankful to Jori and John for taking pictures while I hosted all over the place!

What's the greatest Halloween gag you've ever seen in someone's house? Let me know below!

Monday, October 5, 2015

From Entertainment to Booze Containment

A phrase that Scott hears all the time around this house.

"I found this on the side of the road".

Sometimes it's little things and sometimes it doesn't work out. This was not one of those times.

This time turned into one of our coolest furniture pieces ever, but I'm getting ahead of myself.

About a month ago, Beth and I were driving back from one of our many shopping adventures when we saw an old TV carcass on the side of the road. We both saw it and while the words, "Did you see that?" left her mouth, I was already pulling a U-turn. Five minutes later, it was loaded into the car.

"Scott is going to kill me".


When we first picked it up, I didn't really have an immediate use for it. I thought it might be a pretty cool microwave stand with storage in the interior portion, but we wouldn't know until we got it home and took a good look at it. Once we had it out of the car, I began to doubt my original intention.


I decided that the only way to know would be to try it out. I gave it a "dry run". Anything would work better than the collapsible plastic table we've been using since we moved in two years ago.

Blingy.

I gave it a try.


Not quite. It wasn't wide enough for the wall and it seemed like it was awkwardly floating in the space.

This also happened to be the weekend that my parents came into town with the mantel, so we thought it over and decided that it would be much cooler as a retro TV bar instead. We would switch it out with the old bourbon bar and put the old one into the kitchen to hold the microwave and toaster oven. The end result for the TV would hopefully look something like this inspiration picture from a Redo, Recycle, Renew article online.


Honestly, Dad had half this project done before Mom and I even got home from picking a few things up from the store. The hardest/most expensive part of the project would be finding an old TV without the television actually mounted inside, and since I had found that for free, we were only a few steps from a cool mid century bar display.

We started by removing the backing and cleaning up the inside a little.


The speakers possibly still work, so we didn't cut the wires. Scott thinks he might want to try hooking them up to our old record player someday, so we just tucked the wires away where they wouldn't get damaged.

Dad measured the inside and used pine boards to make shelves. The two support slats in the back weren't removable, so he figured out a way to screw everything together once all the pieces were inside the TV itself. He refers to this as his "IKEA method" because all of the holes were pre-drilled and just needed to be attached.


Once everything was fitted, I took the shelves out again and stained them with a honey-colored gold stain. We thought that it would go with the honey color of the bourbon and the exterior colors of the original television shell. Once they were dry, they were brought back inside and reassembled back inside the TV again.


In the above picture, Dad is trying to make sure that the shelf height is correct before the shelves are stained. This is when Mom and I started working on the rear curtain. As a stand in, Dad used an old towel, but we thought that we could do a little better.

We used a tension rod and some upholstery fabric (seamed, with a curtain pocket on one end) to hang behind the shelves. We really liked the fabric in the inspiration photo, but we didn't expect to find the exact same fabric. I think it fits perfectly with the retro feel of the TV and gives a nod to the television test pattern.

When it was finished, we moved it into place. A little rearranging turned this:


Into this:

Since we were working on the mantel at the same time, you may recall the story in a previous post about the positional switch-a-roo that occurred between this guy and the fire place.


One more thing had to happen before I called this project completed. I found some lights around the house that had a dimmer and installed two of them into the "ceiling" of the interior of the bar. Now it has three light levels to choose from to really give it a fun, "working TV" glow.

Yes, I know some bottles are backwards and sideways. We aren't getting paid ad monies, ya know.

Overall, I'd say this is one of the coolest, most unique things we have in our house. It's a fun throwback to the times of I Love Lucy and Gunsmoke. A reminder of how far media has come in the last 60 years.

Most of all, it was yet another fun reason for me to tell Scott,

"I found this on the side of the road".


Let me know if you have any awesome furniture make overs and I might feature it on the blog!

Sunday, September 13, 2015

Faux Fired Up

It all started with a text from my mom. She had found a mantel at her local Restore in Tennessee for around $66. The text was accompanied by this picture.


After asking some questions and thinking it over, I texted her to pick it up. This began a three week journey for this fireplace accoutrement, from Restore floor to our dining room.

I had wanted a mantel for our dining room since we had moved in. It didn't need to work, it just needed to be a traditional representation of what a dining room means. It tends to be a place where people gather around a fire/table and be together. I also liked how it gave a more official dining room feel to a room that was originally the living room. It had always needed a little help not feeling like an after thought of an area.

On Pinterest, of course, I had fallen in love with this image from the blog Bless'er House.

It was visually demanding, yet very airy in the room. I loved the stone surround, but especially the wood cuts in the center. It was a definite inspiration for what our new acquisition was to become.

Since Mom and Dad weren't going to be in town for a while, they ended up storing the mantel for us. I slowly started receiving text updates.

Would you like me to strip the paint off?

I might be able to get a coat of paint on it before we bring it to your place.

Suddenly, the mantel was being worked on and I was getting pictures. I am pretty sure she was having as much fun working on it as I would have.

Here she is using a heat gun to remove the old paint. The original paint job was chipping and needed to be completely redone. She tried stripper first, but the heat gun apparently worked best.


She was then able to scrap off the old paint with a metal putty knife. I wouldn't recommend a plastic one because it might melt.


When she really got going, she had taken off all of the original paint. In all, she said it took 16 hours! Never say I don't owe my mom!


She followed up with stainable wood putty, some sanding, and a coat of white paint. The next time I saw it was when their truck pulled into my driveway. It looked great already! There was still much to do to install it, though.

We brought it inside and set it where we wanted it. After giving it side glances overnight, Dad brought up the idea of adding a hearth to the bottom. This would both lift the mantel off the ground and away from the moulding, but also help complete framing around the interior portion (where the wood or fire would normally go).

Dad and Scott started with a simple frame with 2x4s.


Then they skinned it in some nicer plywood. We had purchased a 4x8 ft piece at Home Depot and ended up needing most of it for the entire project. Strips of it were cut to size to skin the hearth. They were then attached with wood glue and nails from our nail gun.


Dad scroll cut the sides from a template Mom drew to fit it against the moulding and we brought it in to take a look.


We thought it looked pretty good, so Mom and I put a couple of coats of white paint on it while the boys started work on the actual mantel itself.

First, they added about a 6 inch surround to the interior of the mantel. This would keep the wood pieces from being visually overwhelming and also help it feel more realistic. They did this using the same piece of plywood from earlier.


Then, they attached small pieces of 1x2 around the opening as spacers to set back the interior piece a little. This added some nice dimension to the over all look.

The interior was yet another piece of the plywood. I had painting it black before they installed it so it would be easier to work on later. When the structure was completed it looked like this.

Notice the stair stepping of the layers.
At this point, the mantel now weighed twice as much, but of course, we weren't done. We carried it inside and checked it in its place. We were chugging along nicely.

Spiffy

We brought it back outside and began working on the interior and finishing stages of the process. I painted the inside of the opening black to match the background. Then we were off to the woodpile.


Dad used this chainsaw and cut through a bunch of our branches that we have around for the fire pit. He eyeballed the size and was impressively accurate. For the smaller branches, he was able to set up a stop on our miter saw and get the same size every time.


While he cut, I began placing the pieces in the interior area of the mantel. After about 30 minutes, we had a very pleasing arrangement.


To attach all of the wood pieces, we had a very odd system (that worked really well!). Dad laid under the saw horses and I used a drill to drill a pilot hole from the top under each piece.


Then Mom came in and glued each piece down while Dad screwed in each log from the underneath so it didn't show. It looked a little something like this.


After about 20 minutes and my father being thoroughly covered in sawdust and glue, we were able to set the fireplace on end.

From behind, you can see alllllll the screws.

Of course, now that it was about 1,000 lbs, it was time to move it inside.


The hearth was first attached with L-brackets and anchors to the wall.


Then the mantel was attached using two screws with anchors as well.


It looked great! There was just one problem...

It was in the wrong place.

When this all began, I had measured the far wall to see if the two bookcases and the fireplace could all fit together. It seemed like the fireplace being centered would give that traditional vibe I was going for.

Unfortunately, numbers make fools of us all. I had measured and written down the wrong number. After living with the mantel on the side wall for a couple of days, my curiosity got the best of me and I remeasured. Sure enough, it would totally fit (with extra space) on the far wall.


I very sweetly told Scott that I had royally screwed up and he agreed to help me move it. The move, I must say, really helped cement this as one of my favorite house projects so far.


Much better!

What do you think, is it worth having an architectural piece if it doesn't work, or are fireplaces meant to be used, not just seen? I have to say, even though this guy will never heat our home, I'm already a big fan of how grand it makes the space feel. I can't wait to spook it up for Halloween and hang our stocking on it at Christmas!


PS-See the retro TV on the right? My Found TV Bourbon Bar Blog Post coming soon!