

During our Father/Daughter dance. Photo taken by Ronda Sturdivant.
Not only were they perfect for the day, but we kept them afterward and now they adorn our backyard during the sunny months. Unfortunately, when I pulled them out this year, I could see the evidence of summers past.

They were a little worse for wear. They weren't rusted, just really sun-worn and dirty. Since metal lanterns this size are really in style now, I didn't want to replace them. That would have cost a fortune. Instead, I decided to just revamp the ones I had and make them like new again.
I started by taking them apart. The top wire and lids come completely off, so I washed them with dish washing soap. I let them dry really well while I worked on the next step.

I started by taking them apart. The top wire and lids come completely off, so I washed them with dish washing soap. I let them dry really well while I worked on the next step.
Some of the lanterns had candles still stuck in them, so before I could really proceed, they had to be dewaxed. Here is a perfect example.

After an hour in the freezer, the candle shattered enough to come right out in chunks. Thankfully they were not all this bad. I think I would have run out of freezer space...
I was then able to do a first cleaning. I ran each one underwater with soap, rinsed, then put them back on the counter for the second big phase: taking out the glass.
The glass pieces were held in with little metal tabs that just needed to be carefully bent back. I only had to undo the top ones, as I was able to pull the glass straight up and out of the lanterns. There were four pieces per lantern (to keep candles from blowing out in the wind), so this task took a while.
Once all the glass was removed, the lanterns were rewashed. They weren't perfectly clean, but they were clean enough that the dirt and grime were gone from the outside, allowing the paint to stick. They were then allowed to dry.

The glass was all cleaned as well, then very carefully laid out to dry.

Once everything was a-okay, I was ready to paint. I decided on a bright yellow because it would really stand out against our very green backyard. I ended up using two cans of the Rustoleum with primer to get a nice even coat.

I began with them upside-down. I then flipped them right side up and got the top edge. I did not do the insides because I felt that the pattern didn't make that necessary. When you do see both colors, they just look like lemon lime.
When they were completed, I laid out the lids and painted their undersides first. After they dried, I flipped them over and sprayed the tops. Each side took two coats for good coverage. The wires were painted by hanging them from a string so I could do all the sides at once. They only took one awkward coat.
When they were completed, I brought everything inside for reassembly. Here is the inside of one that I'm getting ready to put a glass pane in. You can see how the inside is still green.
 It's amazing what a new coat of paint can do for something. If you know me, you know that I'll spray paint just about anything, but these guys are probably my newest triumph.

When they were completed, I laid out the lids and painted their undersides first. After they dried, I flipped them over and sprayed the tops. Each side took two coats for good coverage. The wires were painted by hanging them from a string so I could do all the sides at once. They only took one awkward coat.
When they were completed, I brought everything inside for reassembly. Here is the inside of one that I'm getting ready to put a glass pane in. You can see how the inside is still green.
Not only are they clean, but they are bright and cheery spots in our backyard.
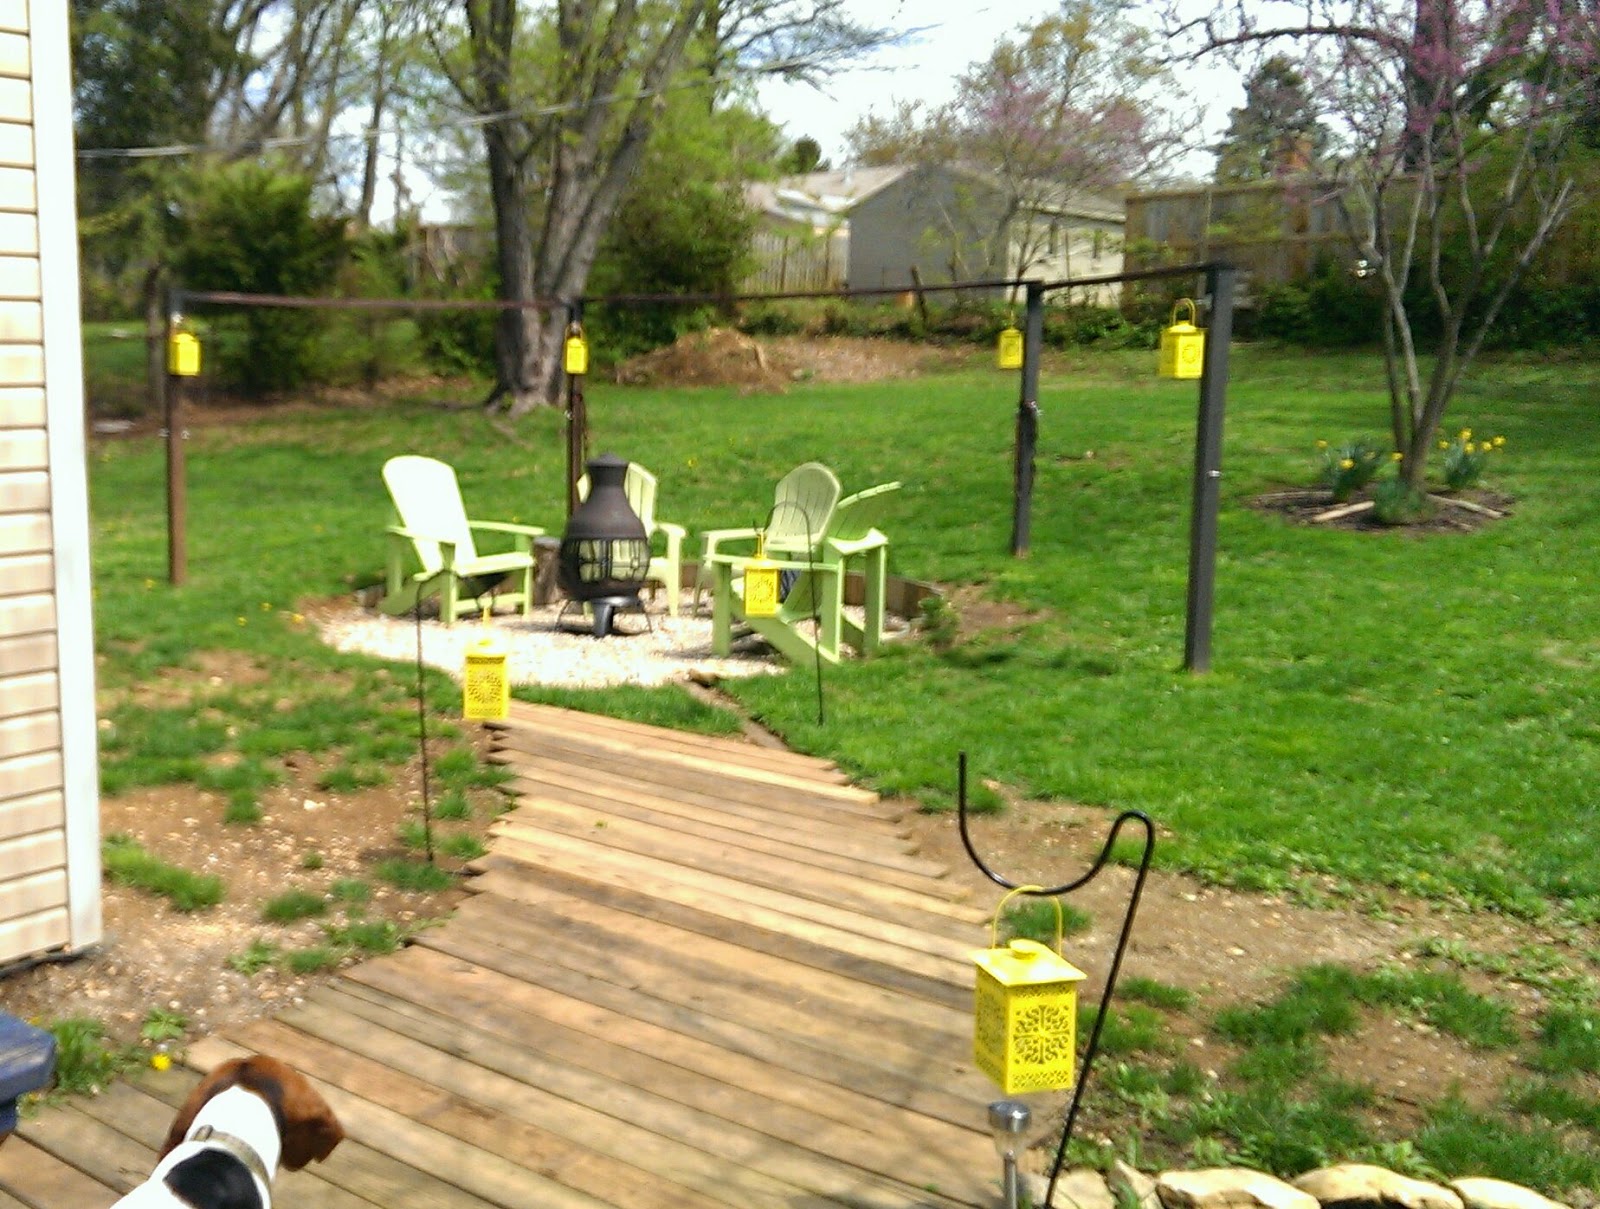
I'll update with a night picture once our weather is nice enough to actually get one. Till then, I hope your outdoor projects are allowing you to enjoy your yards, too!


