"I found this on the side of the road".
Sometimes it's little things and sometimes it doesn't work out. This was not one of those times.
This time turned into one of our coolest furniture pieces ever, but I'm getting ahead of myself.
About a month ago, Beth and I were driving back from one of our many shopping adventures when we saw an old TV carcass on the side of the road. We both saw it and while the words, "Did you see that?" left her mouth, I was already pulling a U-turn. Five minutes later, it was loaded into the car.
"Scott is going to kill me".

When we first picked it up, I didn't really have an immediate use for it. I thought it might be a pretty cool microwave stand with storage in the interior portion, but we wouldn't know until we got it home and took a good look at it. Once we had it out of the car, I began to doubt my original intention.


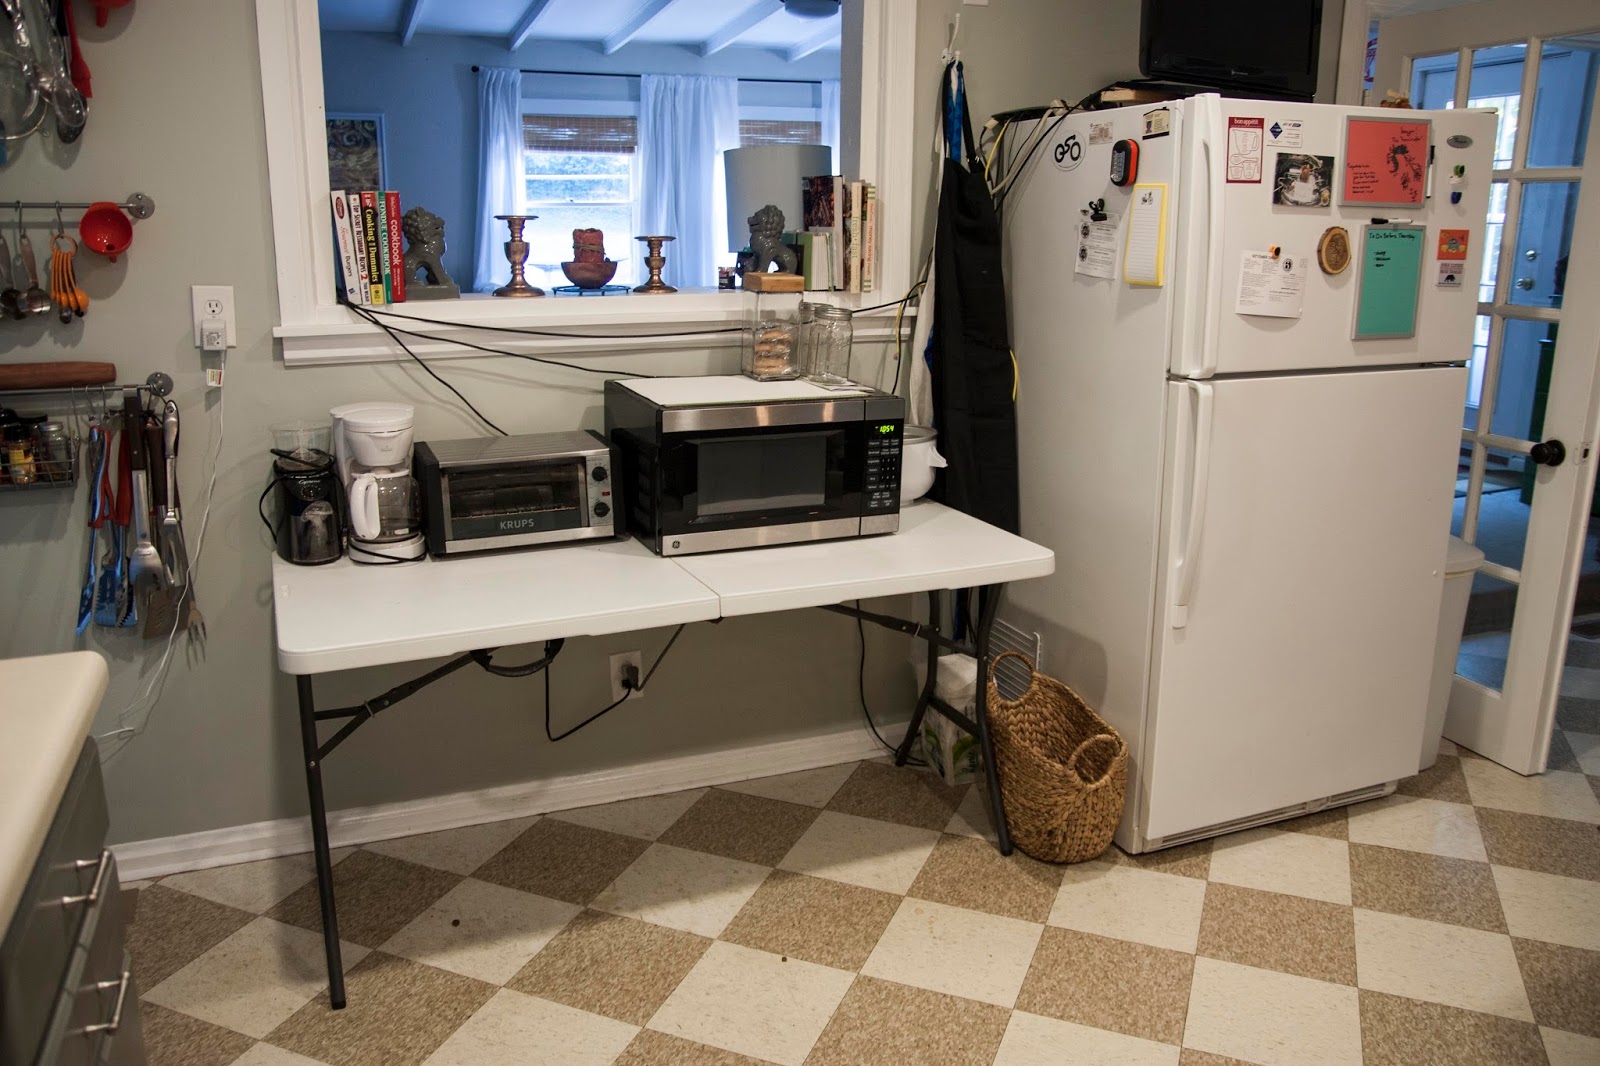
I decided that the only way to know would be to try it out. I gave it a "dry run". Anything would work better than the collapsible plastic table we've been using since we moved in two years ago.

Blingy.
I gave it a try.


Not quite. It wasn't wide enough for the wall and it seemed like it was awkwardly floating in the space.
This also happened to be the weekend that my parents came into town with the mantel, so we thought it over and decided that it would be much cooler as a retro TV bar instead. We would switch it out with the old bourbon bar and put the old one into the kitchen to hold the microwave and toaster oven. The end result for the TV would hopefully look something like this inspiration picture from a Redo, Recycle, Renew article online.

This also happened to be the weekend that my parents came into town with the mantel, so we thought it over and decided that it would be much cooler as a retro TV bar instead. We would switch it out with the old bourbon bar and put the old one into the kitchen to hold the microwave and toaster oven. The end result for the TV would hopefully look something like this inspiration picture from a Redo, Recycle, Renew article online.

Honestly, Dad had half this project done before Mom and I even got home from picking a few things up from the store. The hardest/most expensive part of the project would be finding an old TV without the television actually mounted inside, and since I had found that for free, we were only a few steps from a cool mid century bar display.
We started by removing the backing and cleaning up the inside a little.

We started by removing the backing and cleaning up the inside a little.

The speakers possibly still work, so we didn't cut the wires. Scott thinks he might want to try hooking them up to our old record player someday, so we just tucked the wires away where they wouldn't get damaged.
Dad measured the inside and used pine boards to make shelves. The two support slats in the back weren't removable, so he figured out a way to screw everything together once all the pieces were inside the TV itself. He refers to this as his "IKEA method" because all of the holes were pre-drilled and just needed to be attached.

Dad measured the inside and used pine boards to make shelves. The two support slats in the back weren't removable, so he figured out a way to screw everything together once all the pieces were inside the TV itself. He refers to this as his "IKEA method" because all of the holes were pre-drilled and just needed to be attached.

Once everything was fitted, I took the shelves out again and stained them with a honey-colored gold stain. We thought that it would go with the honey color of the bourbon and the exterior colors of the original television shell. Once they were dry, they were brought back inside and reassembled back inside the TV again.


In the above picture, Dad is trying to make sure that the shelf height is correct before the shelves are stained. This is when Mom and I started working on the rear curtain. As a stand in, Dad used an old towel, but we thought that we could do a little better.
We used a tension rod and some upholstery fabric (seamed, with a curtain pocket on one end) to hang behind the shelves. We really liked the fabric in the inspiration photo, but we didn't expect to find the exact same fabric. I think it fits perfectly with the retro feel of the TV and gives a nod to the television test pattern.
When it was finished, we moved it into place. A little rearranging turned this:

We used a tension rod and some upholstery fabric (seamed, with a curtain pocket on one end) to hang behind the shelves. We really liked the fabric in the inspiration photo, but we didn't expect to find the exact same fabric. I think it fits perfectly with the retro feel of the TV and gives a nod to the television test pattern.
When it was finished, we moved it into place. A little rearranging turned this:

Into this:


Since we were working on the mantel at the same time, you may recall the story in a previous post about the positional switch-a-roo that occurred between this guy and the fire place.


One more thing had to happen before I called this project completed. I found some lights around the house that had a dimmer and installed two of them into the "ceiling" of the interior of the bar. Now it has three light levels to choose from to really give it a fun, "working TV" glow.


Yes, I know some bottles are backwards and sideways. We aren't getting paid ad monies, ya know.
Overall, I'd say this is one of the coolest, most unique things we have in our house. It's a fun throwback to the times of I Love Lucy and Gunsmoke. A reminder of how far media has come in the last 60 years.
Most of all, it was yet another fun reason for me to tell Scott,
"I found this on the side of the road".

Most of all, it was yet another fun reason for me to tell Scott,
"I found this on the side of the road".

Let me know if you have any awesome furniture make overs and I might feature it on the blog!