Thursday, October 23, 2014

Cheapy and Creepy

Halloween is probably our favorite holiday, so we like to make sure that the house feels just a little creepy to get everyone in the mood. We didn't want to spend a lot this year, though, so here are some of my secrets to a wallet-friendly spooktacular space.

There are a couple of small details around the house that I love. We don't have a mantel, so under the TV acts as a nice decorating platform.


Black fabric draped over stacks of books or blocks gives a nice 'uneven ground' to start with. I then layered it with white spiderwebs to give it a spooky feel. Add props to give it dimension and one more thin layer of spider webbing and you're done! Webbing can be reused year to year if it's stored in a ziplock bag, so we haven't purchased webbing in a couple of years. The props came from the dollar store or knick knacks that were 90% off at Target after last year's Halloween. Keep interesting (and non interesting such as salsa, sauces, etc.) jars and clean them out really well. There are printable fun tags online that you can tape or glue to them. You can even skip the labels and just add water and a little food coloring to add a creepy mad scientist effect.


Our french doors needed a little something more than being strung up with spider webs (like last year), so I decided to take a hint from The Walking Dead and make them look really spooky. I saved up cardboard for a month or so and cut it so that it looked like boards. I then just hot glued them together in layers until it created a good canvas for my signs. Lastly, I sloppily spray painted the words and allowed them to dry in the garage.


Remembering that we had left over wreath hangers around, we just used those to hang them on the door. Depending on if your doors are opened or closed most of the time will depend on what door gets what sign, but when ours are closed they look like this. (They do tend to stay open more often then not).


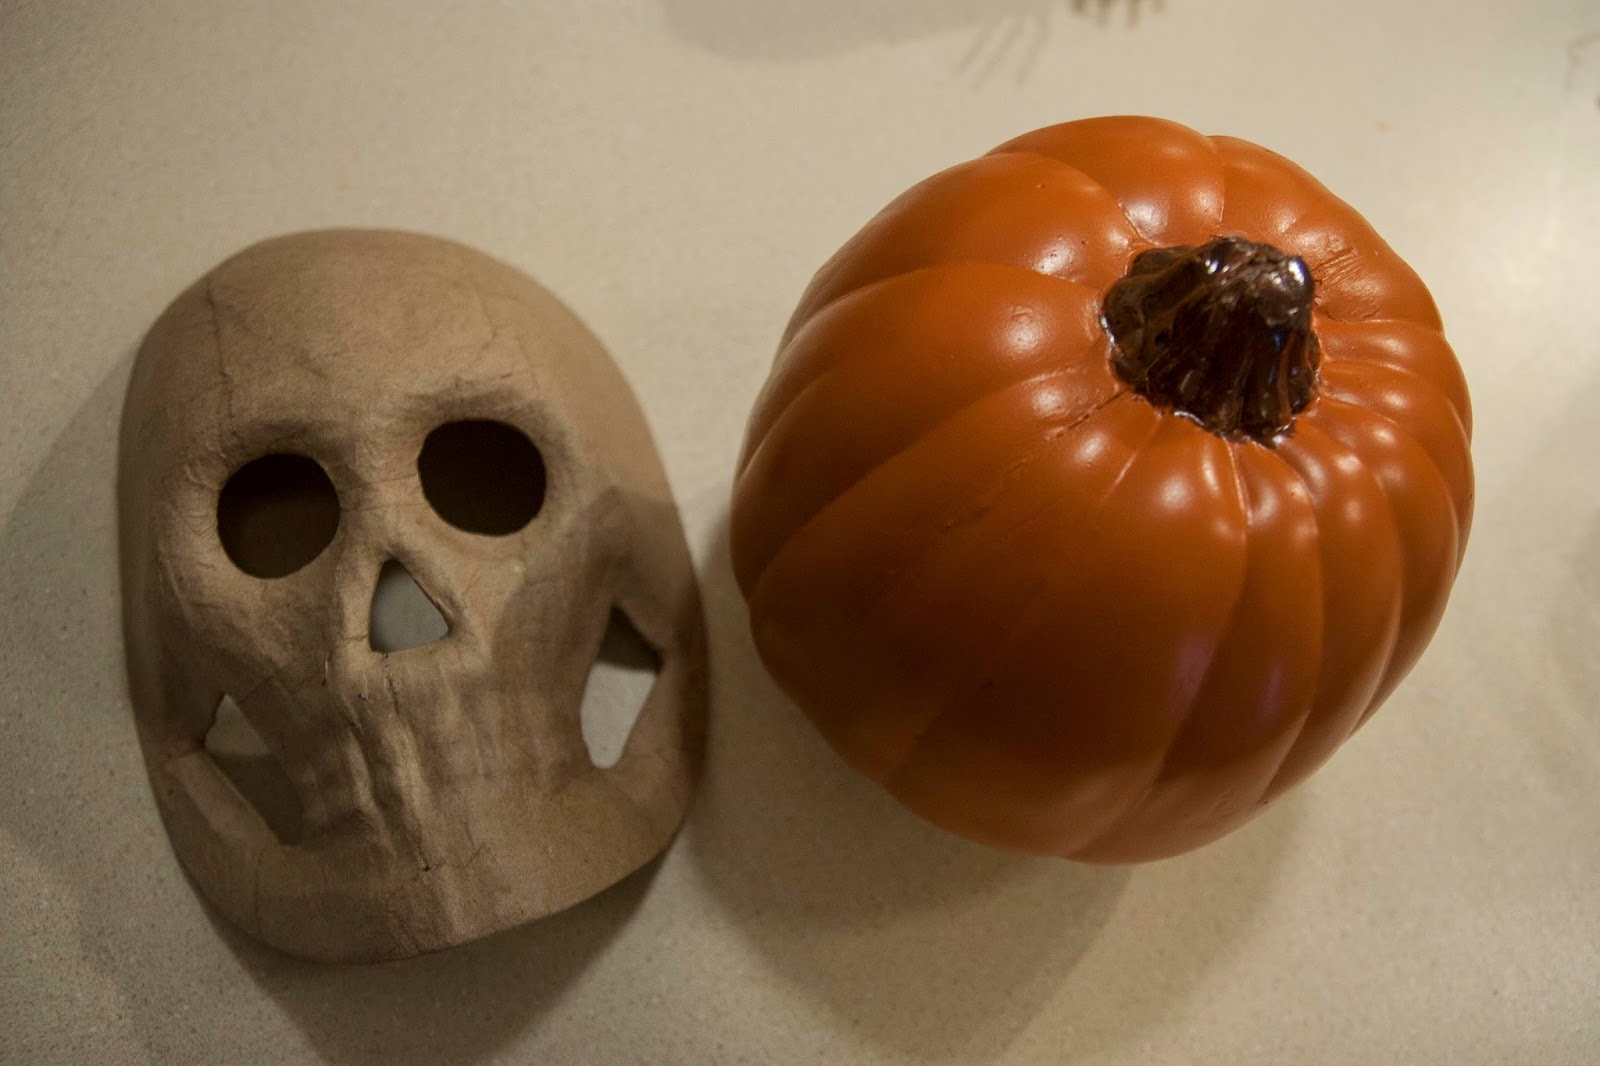
In the old dining area (which has been dubbed by a friend of ours as 'The Salon'), we just replaced our regular pictures with some smaller haunted pictures that were at Target for $1 each. They're kind of small so I'd like to replace them at some point, but for now, they do the job.


The guest bathroom is always fun. I reused the 'bloody' shower curtain from last year (made with a dollar store shower curtain, some red craft paint, and my hands) and the fake dead hand that I found at Walmart for $2 probably 5 years ago. If you want to make your bathroom really feel like it's from Psycho, unscrew all but one bulb just enough so that they don't glow. It makes it so guests can still see, but it gives it an eerie effect, too.


The most fun we had this year was in the front of the house. I had seen something on Pinterest about silhouettes and decided that the garage could use a little zombie love. I took some of my leftover cardboard and used hot glue to make four pieces the size of our garage windows. Then, I traced my left hand repeatedly with sharpie in different gruesome positions. Once I had a configuration I liked, we cut them out of the cardboard with an X-acto knife.


Then they were painted with some black spray paint we happened to have in the garage.


I then just used some duct tape to attach them to the door. I also placed some wax paper behind each one so that the green-light-bulbed work lamp we hung from the garage door opener would be diffused a little.


The results were pretty amazing from the outside.


It looked great, especially with our larger window harboring a grim reaper large window cling ($4, after Halloween special at Target, but could be made like the hands out of cardboard) and a couple of foam tombstones (dollar store). We just replaced the regular light bulb with a green one in a stand up lamp in our dining room to match both window colors.


Together, they really set a creepy mood for anyone approaching the house.


Later on, we were able to turn on a jack-o-lantern in the bottom left corner of the large window.


On the outside, though, it adds just a hint of a haunting.


We really love the way everything turned out, and nothing says Halloween more than approaching a house that looks either haunted or full of Halloween fanatics!


We hope this inspires you to really spook up your own haunt this October! Do you have any other great tips for awesome Halloween decor on a budget? Let us know in the comments!

Monday, October 20, 2014

I love GOOOOOOLD


Who doesn't?

That's why I figured I would once again show you guys out there in Blogland my steps for making our Halloween party costume trophies!

Last year, I gave a tutorial on how to create skull based trophies. The year before that, our skeleton trophies were my first attempt at DIY prizes for our little party. This year, though, I decided to go even different....er. In fact, there was no running theme between them aside from the color gold.

I started by making a couple of purchases at Michaels that I thought would be good bases for each trophy. First, I worked on the Best Couples costume. I found these two molded-clay skeleton hands for $3 each. I liked the idea of them holding on to each other in a helpful way. I played around with how they should be arranged until I ended up with this configuration.


You can see where I placed some hot glue in the thumb joint where they meet. I only found out later that the hot glue didn't really bond with them, so it fell off. Super glue worked perfectly and resolved this problem fast.


The second category I worked on was for Best Overall. I decided to go a little 'creepy Indiana Jones-type idol' style with this. I found a foam skull, plastic skeleton hands, and a base that I thought would do the trick.


I attached the first three hands to the base using hot glue (which this time held with no issues).


I then continued attaching more hands to create a sort of nest for the skull to sit in.


Being sure to add glue at all of the points of connection with the hands, I then attached the skull.


Since I had some hands left over, I gave this guy a nice high hand-bone collar in the back. I just made sure to use minimal hot glue at strategic points to give it stability.


I was ready to start painting. My other two trophies needed paint before they could be assembled. The mask is for Sexiest Costume and the pumpkin is for the Geekiest.


I know that I have touted the use of spray primer on many of my spray paint projects...but I am going to say it again...USE A PRIMER. In this case, I would especially recommend it because you are painting all kinds of different materials and it will make your gold paint much more saturated.


The difference between not using a primer and using a primer is painting over different shades of brown on the Best Overall trophy vs getting to paint essentially a blank slate. It makes a world of difference.


Once I had given the primer ample time to dry, I was finally able to start in with the gold spray paint. I use Rustoleum Metallic Finish Gold. After three years of making gold trophies (Three years in a row, four trophies per year, two coats each...you do the math), my can has finally run out of paint. That's not a bad investment is you decided you want to make this a yearly project.

I started with a light coat, then another to finish up the Geekiest, Best Overall, and Couples. I made sure (especially with the Couples) to turn the trophy over in order to really cover all the nooks and crannies. Here it is in the process.


Everything was given another couple of hours to dry. I was then able to start working on the Sexiest trophy. The inside of the mask was gold, but the outside was left white for decoration. This is just a $2 mask from Michaels.


I liked the sort of chalky look of the primer, so I was able to start in with the details. I began by penciling in my design. If you need inspiration for a sugar skull paint job, there is a lot of inspiration on the interwebs.


Using some craft paint and small craft brushes, I just covered my lines in my chosen colors. My biggest concern was just getting the design bold enough at this point.


Using more hot glue (because my life is held together by it, honestly), I applied rhinestones. I have decently sized nails, so they were a little tricky to apply. Don't add too much glue at one time before you're ready because it will harden before you can apply half of these small gems.

At Target, they sell pumpkin glasses, which are kind of reflective and cute. I purchased the pack they came in, chose the classic nerd specs, added a little ribbon to the center as tape, then added it to this adorable gold hunk.


They all turned out great! Everyone was super stoked to have won them and I even had one Instagramed at the party because the winner was so excited!

Geekiest Costume:


Sexiest Costume:


Best Couples Costume:


Best Overall Costume:


What worked out the best was the spray paint eating through the foam, leaving a creepy, melted look to the skull.


I really loved the trophies this year, but even more, I loved being able to give them to the winners. Here is a big chunk of the people that showed up, including our winners!


Geekiest: A Brony
Sexiest: A Moulin Rouge Dancer
Couples: Finn in pajamas and Fiona from Adventure Time
Best: Death (Who couldn't drink unless he had a straw because of his mask. Dedication!)

Do you have any big Halloween plans? I've got even more updates for later this week on how we tricked out the house (on a tight budget). Stay tuned!

Friday, October 3, 2014

Little By Little

The garage has been an ongoing project in the house. When we moved in, we knew it would need some work. It was in good shape, it just needed some storage and counter space so we could accomplish more things throughout the rest house. We started by getting the entire garage generally organized with what was already built. For more on that, check out the blog post here.


Since the initial clean up, we've managed to work a little at a time to give everything a home. It's probably been about six months, but it was totally worth it.

After the above pictures was taken, I tore out the far side of the shelves to leave more space for walking into the garage. Scott also mounted the two blue cabinets (that were originally in our tiny laundry room) so we could have some elevated storage space. Sorry about the quality of the rest of the pictures, they were all taken with my phone.


Still a mess, but a mess in progress!

I found some pegboard about a month ago and attached it to the wall with some 1x1s that we had in the scrap wood pile. For all of $14, we finally had a place to put our tools! Previously, they were literally in a heap on the ground just outside the garage door. Safe, right?!


One of the pegboards is dedicated to just hand tools. I even used our old kitchen knife magnet (right) to hold chisels and saw blades.


The other is just for painting equipment. Paint trays are perfect to stick on pegboards because the feet just loop over the top. Easy peasy!


It's amazing how much storage space all of the paintbrushes, rollers, tape, and putty knives took up! Once they were out of the way, we could move on to Phase 4: Workbench.

This was probably the most arduous task...

Not really. It was easy. I just pulled off the top shelf of the existing unit and called it a day.


It's the perfect workbench height and once we mount lights (currently sitting on the workbench) under the metal cabinets, we will have a great space to work on all kinds of projects, big and small!

I know this probably isn't exciting to anyone but Scott and I, but believe me, "Woohoo!"s are in order. We can finally walk into the garage, grab a screw driver, complete a task, and put the screwdriver back without threat of being stabbed or cut from some errant blade or saw in our 'Tool Pile'. We also have enough space to work on smaller items that might need soldering or some simple repair without having to use the kitchen counter.

The only downside is that we only have one outlet in the garage...and it's on the other side of the car itself. We need to put an outlet or two near the workbench to really make it fully functional, but for now, we're just happy to have something resembling an efficient work space!

Do you have a work area like this in your garage? Do you think it's useful or a waste of storage space for other items? Let us know in the comments!